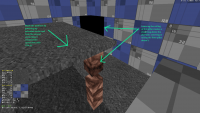
TROR tutorial thread
#1 Posted 23 August 2021 - 06:16 AM
There are some errors in the guide when it comes to shortcuts which also doesn't help. Or if it's a combination with the editor being buggy. Currently using r8019 from the archive over at voidpoint.com.
I think a video of how you make the most basic multi-level map like the "Two story building example" would be great. All I want to do is make a platform to stand on that you can also walk underneath.
Basically a walkway/bridge, but using TROR instead of using blocked sprites. I have a good reason for needing TROR instead in order to create certain geometry otherwise not possible.
EDIT: I've managed to make floating "islands", but they don't allow me to elevate the position of the platform. I'm probably missing something very basic or I need to think differently beforehand.
Either way I need help with this.
Trying the most basic approach:
1: Make an outer sector
2: Make an inner sector with the same ceiling height as the outer sector
3: Extend all outer sectors - in this case just the one, but how do you select only the outer one? How do you deselect the inner one?
This post has been edited by knerlington: 23 August 2021 - 06:38 AM
#2 Posted 23 August 2021 - 07:11 AM
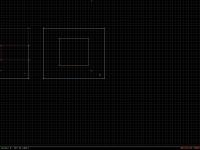
simple bridge:
make your future bridge:
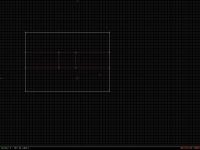
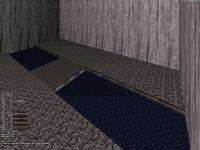
in 2d mode highlight one of the water sectors with right alt, then hit ctrl-e, select z for down ('a' would be used to go up if you're building from the bottom floor and going towards the ceiling)
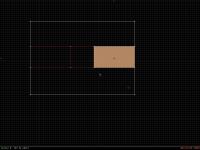
This post has been edited by Forge: 23 August 2021 - 07:33 AM
#3 Posted 23 August 2021 - 07:17 AM
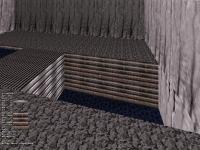
hit the I (eye) key so you can see the layer
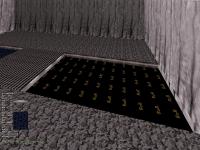
now do the same to the other water sector
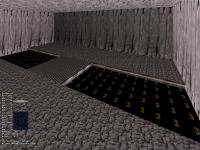
lower your position below the tror layer (i prefer to do it manually in 3d mode with the z key, it's a personal preference to using pgup/pgdwn keys)
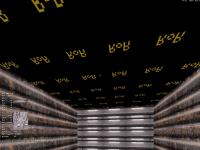
#4 Posted 23 August 2021 - 07:22 AM
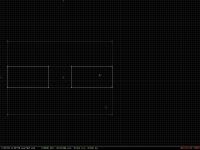
now attach the two sectors together "under" the bridge, as if you're connecting two rooms together
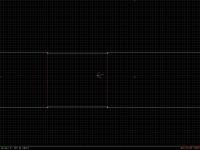
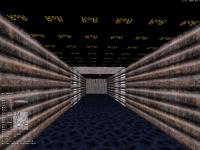
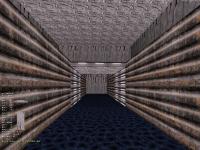
hit I (eye) to remove the visible tror layer indicator
This post has been edited by Forge: 23 August 2021 - 07:22 AM
#5 Posted 23 August 2021 - 07:30 AM
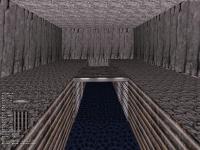
you can go in to 2d mode and clean up the under-the-bridge room connection if you don't want a "bulge" in the walls under the bridge
simply push the extending vertice into the vertice along the wall to collapse them into one wall
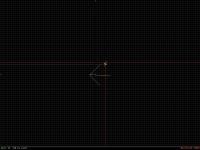
or you can leave them and build off them - personal choice
This post has been edited by Forge: 23 August 2021 - 07:31 AM
#6 Posted 23 August 2021 - 07:37 AM
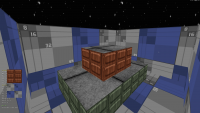
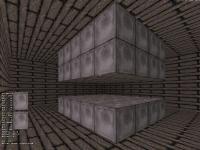
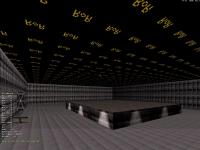
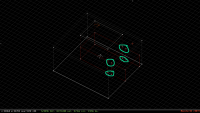
Imagine the red walls on the top sector being invisible with a thickness on the platform itself so that the player can walk under it.
#7 Posted 23 August 2021 - 07:46 AM
if that's the case, lower all the ceilings down to the top of the box and make your tror layer there & use 'a' to extend up
#8 Posted 23 August 2021 - 07:57 AM
This is why there needs to be more video tutorials on the subject showing all the steps on how it works. It might be really simple at it's core, but it's confusing as hell to me. :S
Taken from the eduke32 wiki:
"More ways of highlighting: You can highlight a second, third, and multiple sectors by holding down ['] as you drag the selection box over them. This way you can highlight sectors in different parts of the map. Likewise, use the [;] key to deselect sectors. A small plus or minus will appear next to the cursor depending on which button you're holding.
You can select individual sectors with the mouse by moving the cursor inside the sector you want, holding [RIGHT ALT], and holding [RIGHT CTRL] as you release [RIGHT ALT]. The sector is now highlighted. This method of selection also works with ['] and [;] to select/deselect additional sectors by mouse. Simply hold [RIGHT ALT] and the appropriate button depending on what you want to do, then hold [RIGHT CTRL] while releasing the other buttons. This becomes very quick and easy to do after doing it a few times."
The above is for a US keyboard layout.
I'm using a Swedish keyboard layout and here the additive/subtractive modifier keys are Ö for deselecting individual sectors and Ä for adding individual sectors. Keep either one pressed after releasing the right ALT button.
This post has been edited by knerlington: 23 August 2021 - 08:25 AM
#9 Posted 23 August 2021 - 08:55 AM
 knerlington, on 23 August 2021 - 07:57 AM, said:
basically all the surrounding sectors in that room have to be selected.
if you only select the red box sector, you'll pretty much simply be making a vent shaft in the ceiling.
i can't help you with how non-US keyboards work
normally
press and hold rt-alt while selecting a group of sectors
release rt-alt
put the cursor in a sector you want to add or remove from the group
press and hold rt-ctrl
press and hold either ; or ' (don't recall which is which, but the + or - indicator will display)
press and release rt-alt
continue to hold rt-control and either ; or ', move the cursor inside other (non)desired sectors & press and release rt-alt
This post has been edited by Forge: 23 August 2021 - 08:58 AM
#10 Posted 23 August 2021 - 09:04 AM
 knerlington, on 23 August 2021 - 07:57 AM, said:
I'm using a Swedish keyboard layout and here the additive/subtractive modifier keys are Ö for deselecting individual sectors and Ä for adding individual sectors. Keep either one pressed after releasing the right ALT button.
Just use US English keyboard always when working in Mapster - simply select it in the bottom right corner of your screen on the Windows taskbar. EDuke should automatically change your keyboard setting to US English whenever you launch it I think, but it doesn't seem to work in Mapster.
#11 Posted 23 August 2021 - 09:14 AM
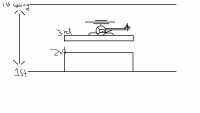
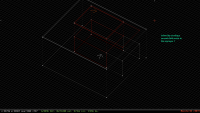
1st level is the ground
2nd level is a raised solid platform
3rd is a floating platform above the 2nd with the same size as the 2nd acting as a helipad.
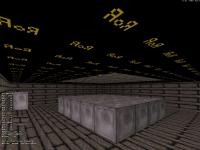
Can't explain it better than the attached image.
#12 Posted 23 August 2021 - 09:17 AM
 Aleks, on 23 August 2021 - 09:04 AM, said:
#13 Posted 23 August 2021 - 09:41 AM
 knerlington, on 23 August 2021 - 09:14 AM, said:
1st level is the ground
2nd level is a raised solid platform
3rd is a floating platform above the 2nd with the same size as the 2nd acting as a helipad.
Can't explain it better than the attached image.
create 1st level
create the 2nd level platform
the ceiling in this room is at the level of the bottom of the 3rd platform
select the surrounding sector (not the one above the 2nd level platform) and make it tror
go into the upper layer
the section of the platform should be white walled
make it red-walled child sector it may already be a child sector - in that case (for ease)- ctrl-del it, to make it one-sided, then alt-s to make it a child sector - may have to do this in both layers)
raise the "floor" of the child sector up to the desired thickness
there are probably easier ways to do this, but i'm self-taught
This post has been edited by Forge: 23 August 2021 - 09:45 AM
#14 Posted 23 August 2021 - 09:49 AM
This post has been edited by Forge: 23 August 2021 - 10:04 AM
#15 Posted 23 August 2021 - 09:51 AM
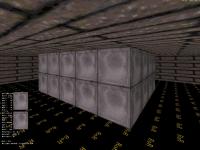
delete it to 1-sided & recreate child sector so the ceiling and/or floor can be worked on
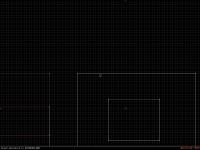
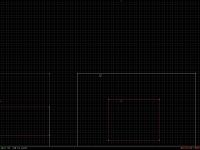
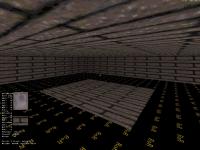
This post has been edited by Forge: 23 August 2021 - 09:57 AM
#16 Posted 23 August 2021 - 09:53 AM
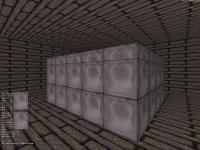
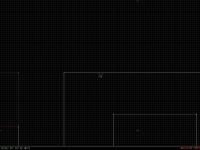
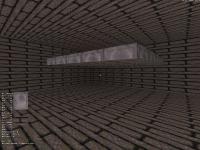
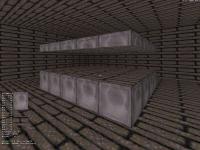
there are easier ways to do this (selecting a sector with shift and using ctrl-u), but this my preferred method, because I have less chance of messing it up
This post has been edited by Forge: 23 August 2021 - 10:02 AM
#17 Posted 23 August 2021 - 10:25 AM
This post has been edited by Forge: 23 August 2021 - 10:42 AM
#18 Posted 23 August 2021 - 10:32 AM
This post has been edited by Forge: 23 August 2021 - 10:51 AM
#19 Posted 23 August 2021 - 10:38 AM
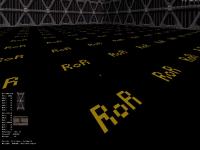
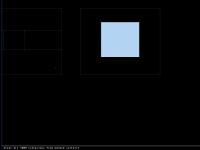
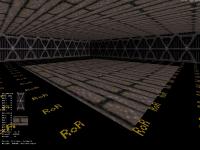
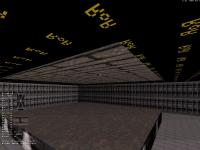
This post has been edited by Forge: 23 August 2021 - 10:52 AM
#20 Posted 23 August 2021 - 10:39 AM
This post has been edited by Forge: 23 August 2021 - 10:48 AM
#22 Posted 23 August 2021 - 12:49 PM
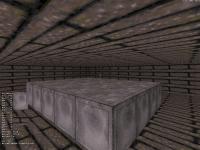
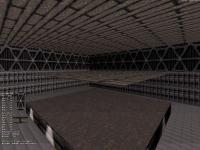
Adding child sectors to the first floor now creates rendering issues between seams and slight height differences. Obviously it must have to do with the top layer vertices having to be connected as well somehow.
Do you have to create every potential sector on the first floor in my case before you expand the sectors?
This post has been edited by knerlington: 23 August 2021 - 12:58 PM
#23 Posted 23 August 2021 - 01:05 PM
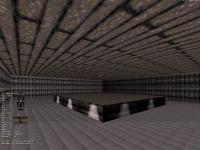
Look at the image. Does this mean you have to create a new child sector for the top layer at the same coordinates as in the first every time you want to connect new sectors to the one acting as my floating platform?
EDIT: No. Did not solve it. Got lucky first time. If I ever get a grip around this I might compile a list of do's and DON'TS...
This post has been edited by knerlington: 23 August 2021 - 01:24 PM
#24 Posted 23 August 2021 - 03:41 PM
Since the last post I've figured out that my rendering issues in new child sectors added after creating a TROR/extended sector might have been due to incorrect active layer/sector selections when mapping out new vertices;
Before I toggled between my layers using PGUP/PGDOWN, greying out inactive sectors with CTRL+A and making sure the layer I wanted to add new sectors within had a thick white line. This did not go very well for me.
Now instead I'm using the second method explained on the wiki:
Narrowing the active editing range to the HEIGHT of a single (or set of) sectors. Firstly, select the sector(s) that you want to be able to edit with [Right-Alt], and press [Ctrl-R]. It's as easy as that. Press [Ctrl-R] without having any sectors highlighted to unlock the range again and be able to edit them normally.
The key here being the height. Works as expected for me as of now. Maybe this should be pointed out to be more important on the wiki? If anyone wants to add any info to this feel free to do so.
#25 Posted 24 August 2021 - 03:45 AM
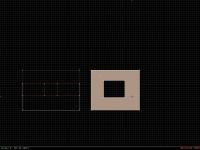
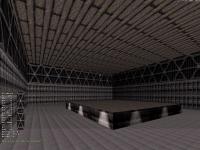
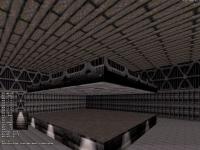
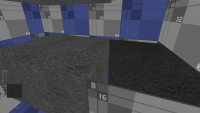
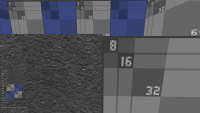
Look at the attached image - there you can see a black corrupt 'wall' that occurs when I lower the ceiling of the support pillar. Why is that and how do I fix it?
EDIT: See next post for image.
This post has been edited by knerlington: 24 August 2021 - 03:51 AM
#27 Posted 27 August 2021 - 04:43 AM
Out of curiosity, I wonder if making that pillar out of masked walls will help the situation. The splitting of the sectors into convex bunches is the official solution though.
This post has been edited by Micky C: 27 August 2021 - 04:44 AM
#28 Posted 02 September 2021 - 07:10 PM

I wonder if Knerlington figure it out? Because for a new mapper. He was learning really fast. I thought that was awesome.
#29 Posted 25 November 2021 - 12:17 AM
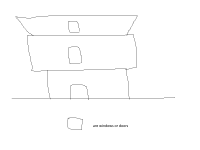
This post has been edited by bright: 25 November 2021 - 12:32 AM

 Help
Help Duke4.net
 DNF #1
 Duke 3D #1


