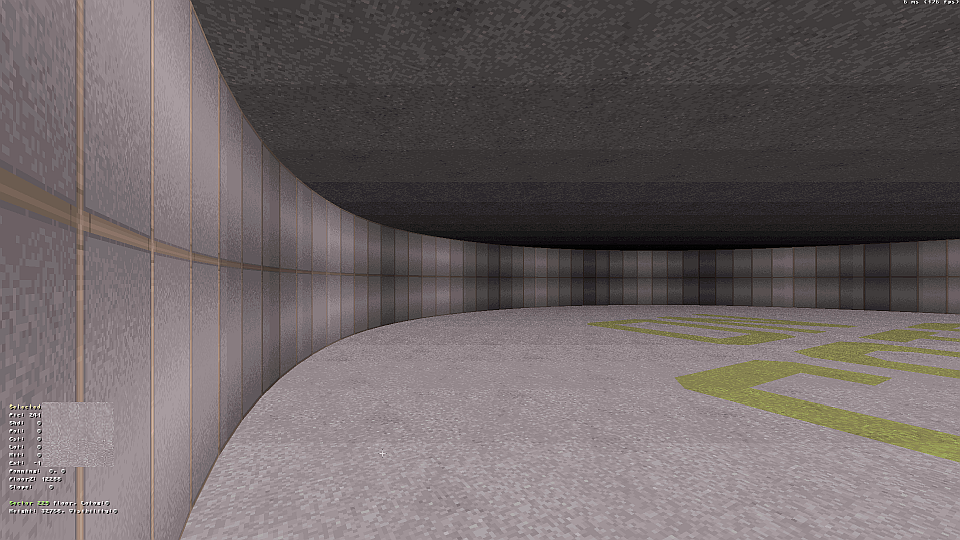
I recently wanted a proper method to create better circular architecture, never satisfied using the curve-line feature to create rounded walls or circles since they're not only difficult to work with once confirmed and placed down, but any additions to the wall resulted in gridlock hassle and the vertices never seem to be on-grid. So I set out to figure how to do this properly. Credits to CZG's curve tutorial for inspiration and reference. Here's my own guide aimed to pull off manual circles/curves with similar results in Mapster32. This guide also assumes you already understand how to use Mapster32 to some extent. I hope some mappers get some use out of this.
1b. AUTOMATION?
Spoiler
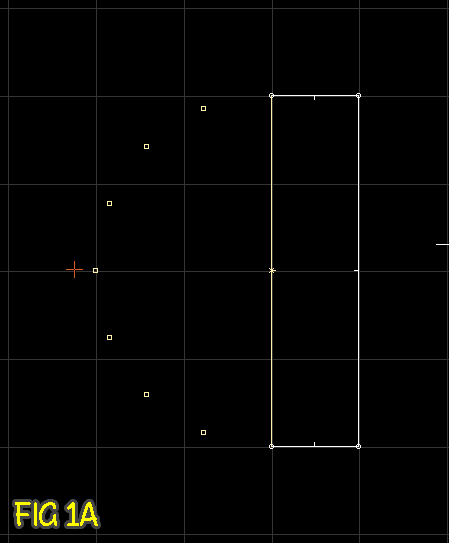
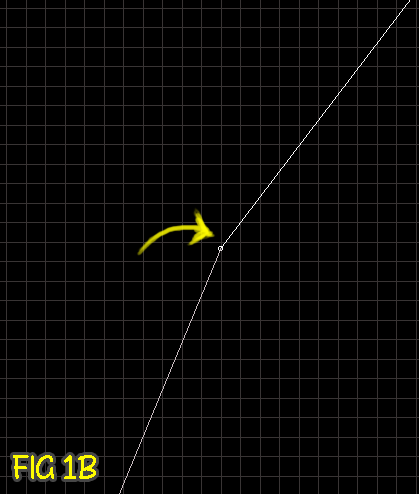
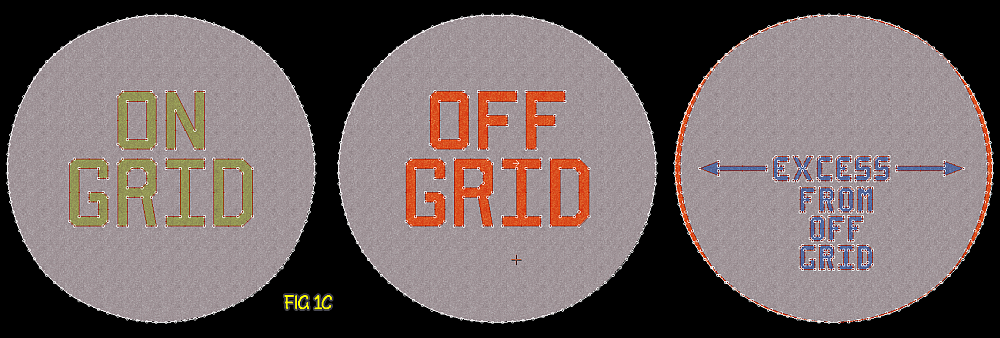
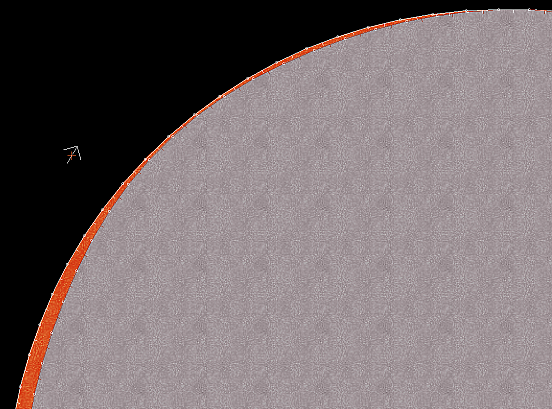
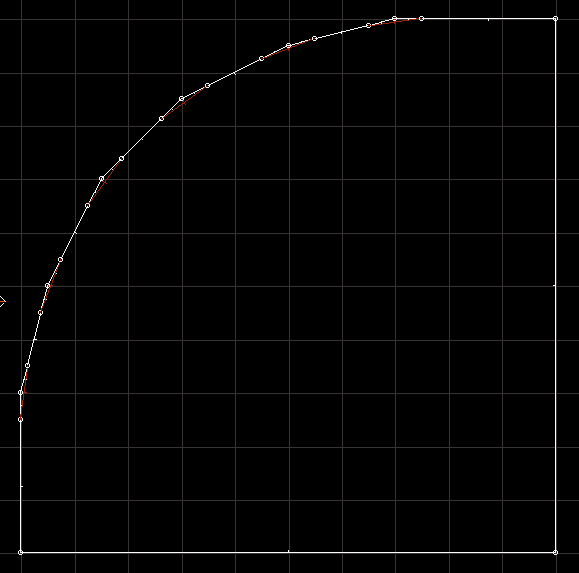
Before diving into it I want to emphasis my problem with using the curve-line feature. The usual method would often be done applying curves to two lines and piecing them together. (FIG 1A). Upon zooming in at the smallest gridsize however we can see vertices still not quite on-grid. (FIG 1B) Here's a comparison of the former method (left) and this guide's method (middle). Overlapping the two will reveal additional excess, in red, resulting the shape becoming more oval in nature using automated methods. (FIG 1C)


2. STARTING THE CIRCLE
Spoiler
To keep things simple we'll work with the largest grid size (1024 Units) and only create 1/4 of a circle to reduce workload going forward. Each line is 4 grid spaces in length including those going diagonally.
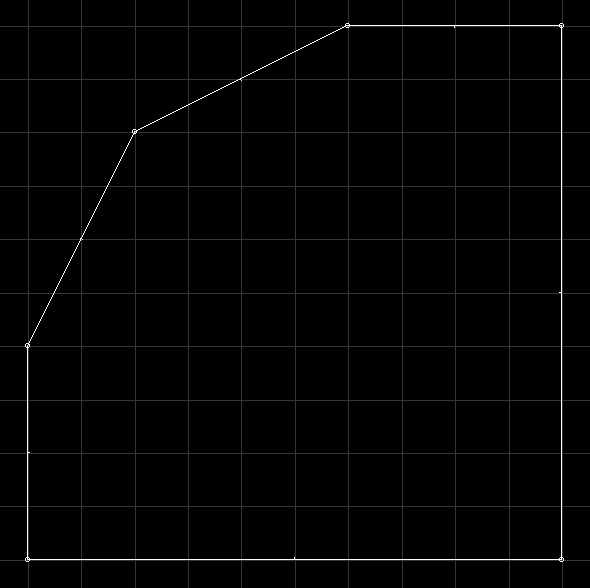
Right now it's a very rough shape, so lets smooth out the curve. Place a new vertex halfway along the straight lines. Mapster32 offers a useful marker to make things easier to find it regardless of our chosen line length. This new vertex is where this quarter of the circle actually starts as highlighted. Later, once all four pieces are joined up, our original line length will be intact. This is done to avoid headaches later and keep measurements accurate, trust me.
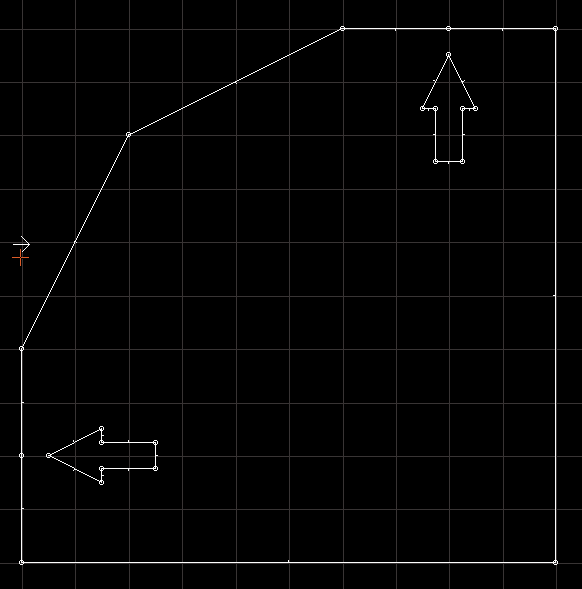
Now we place another vertex halfway across these lines which will begin the trimming phase.
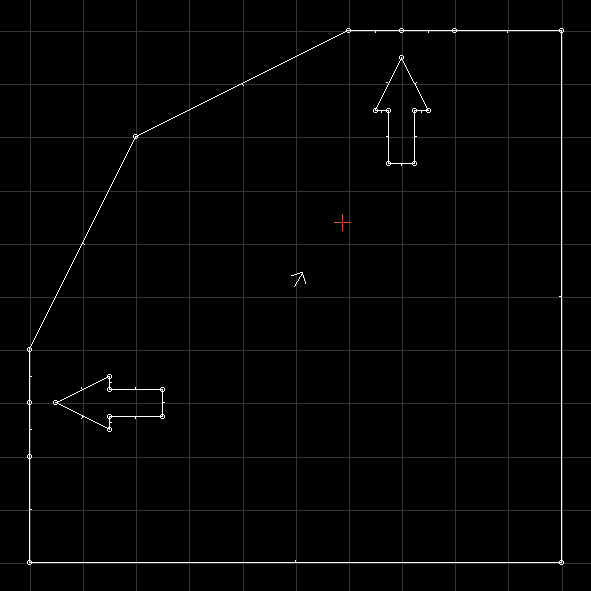
We'll need to replicate this along the diagonal lines. Drop the gridsize down once (512 Units). Our line between one vertex to the corner is 2 squares wide. Now place additional vertices, each 2 squares wide, besides the remaining corner vertices. It's important to measure this line using grid squares because wall lengths on straight lines are not going to be exactly the same to our diagonal lines. This makes it easier for the trimming process when creating circles at other odd sizes, more details revealed later in the guide.You should now have something like below.
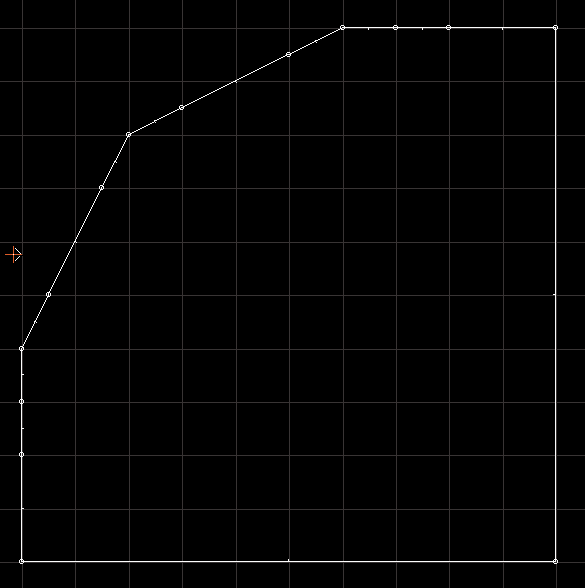
From here you can either; Merge each corner vertex to its nearest neighbour or, draw diagonal lines between our trimming vertices and delete the remainder behind each red line.
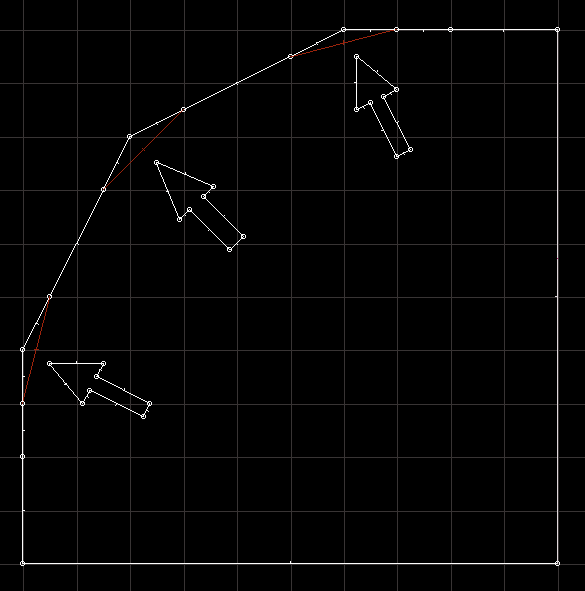
We should now have something as follows. Our rough shape has been smoothed out creating a much nicer curve. Still not smooth enough? I have you covered.
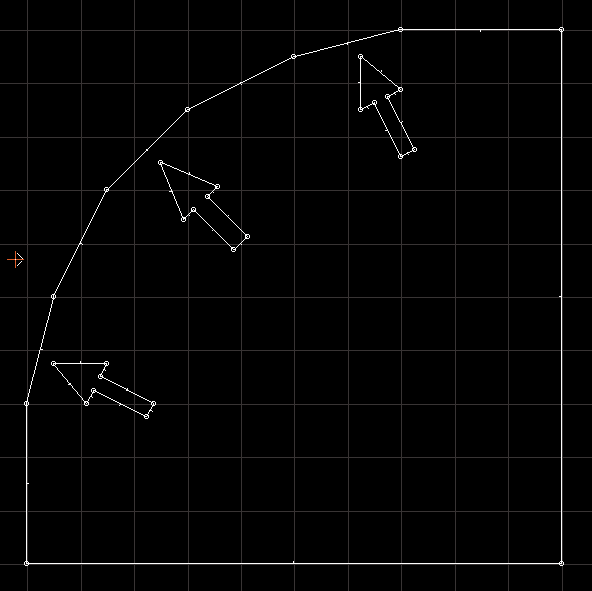

Right now it's a very rough shape, so lets smooth out the curve. Place a new vertex halfway along the straight lines. Mapster32 offers a useful marker to make things easier to find it regardless of our chosen line length. This new vertex is where this quarter of the circle actually starts as highlighted. Later, once all four pieces are joined up, our original line length will be intact. This is done to avoid headaches later and keep measurements accurate, trust me.

Now we place another vertex halfway across these lines which will begin the trimming phase.

We'll need to replicate this along the diagonal lines. Drop the gridsize down once (512 Units). Our line between one vertex to the corner is 2 squares wide. Now place additional vertices, each 2 squares wide, besides the remaining corner vertices. It's important to measure this line using grid squares because wall lengths on straight lines are not going to be exactly the same to our diagonal lines. This makes it easier for the trimming process when creating circles at other odd sizes, more details revealed later in the guide.You should now have something like below.

From here you can either; Merge each corner vertex to its nearest neighbour or, draw diagonal lines between our trimming vertices and delete the remainder behind each red line.

We should now have something as follows. Our rough shape has been smoothed out creating a much nicer curve. Still not smooth enough? I have you covered.

3. SMOOTHER CIRCLES
Spoiler
For our next batch of trimming vertices, we'll be following a similar method as before. Remembering our previous measurements, drop the gridsize down once more (256 Units) and place your first vertices along the straight lines first, counting 2 grid square's wide. Do the same along the other lines, dropping gridsize as required.
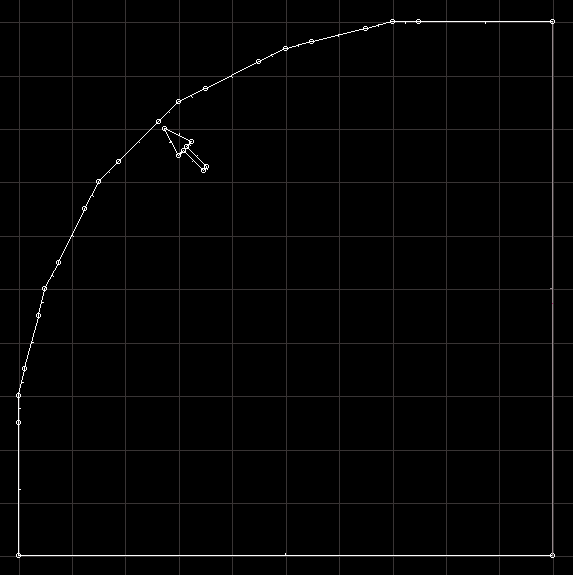
This might become confusing when constantly switching between gridsizes but don't feel overwhelmed. 2 grid squares at gridsize 3 (256 Units) will become 4 grid squares wide at gridsize 4 (128 Units) Refer to the screenshot below.

Word of warning about 45 degree diagonal walls; Through experience I've found that for every 2 grid squares is roughly equal to 3 grid squares at the next gridsize down. This is where things can get a little confusing at times, but if we stuck to the usual measurement here the results wouldn't look correct.
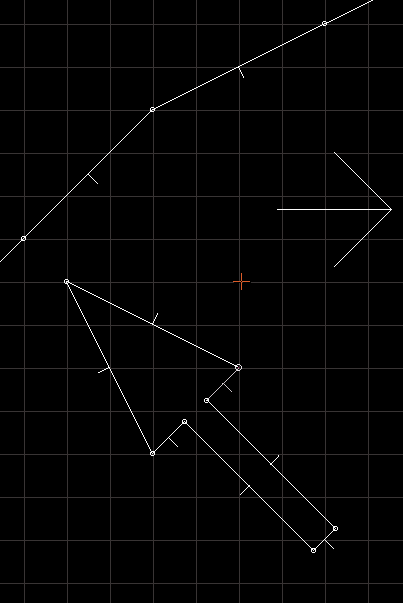
Once that stage is over we repeat the same trimming process as before whichever you feel most comfortable with. When complete we'll have a smoother quarter circle.
Let's find out how this looks when made whole! First we'll need to find our original halfway point along the straight lines assuming it's no longer there. Don't be mislead by Mapster's useful guide this time. We started at the largest gridsize, 4 squares long, so drag the vertices two squares inward. If desired you can make yourself a handy guide to find the halfway point as shown if it helps, probably useful when working with different sized circles. Trim away the excess (marked with an X) to get our perfect quarter circle.
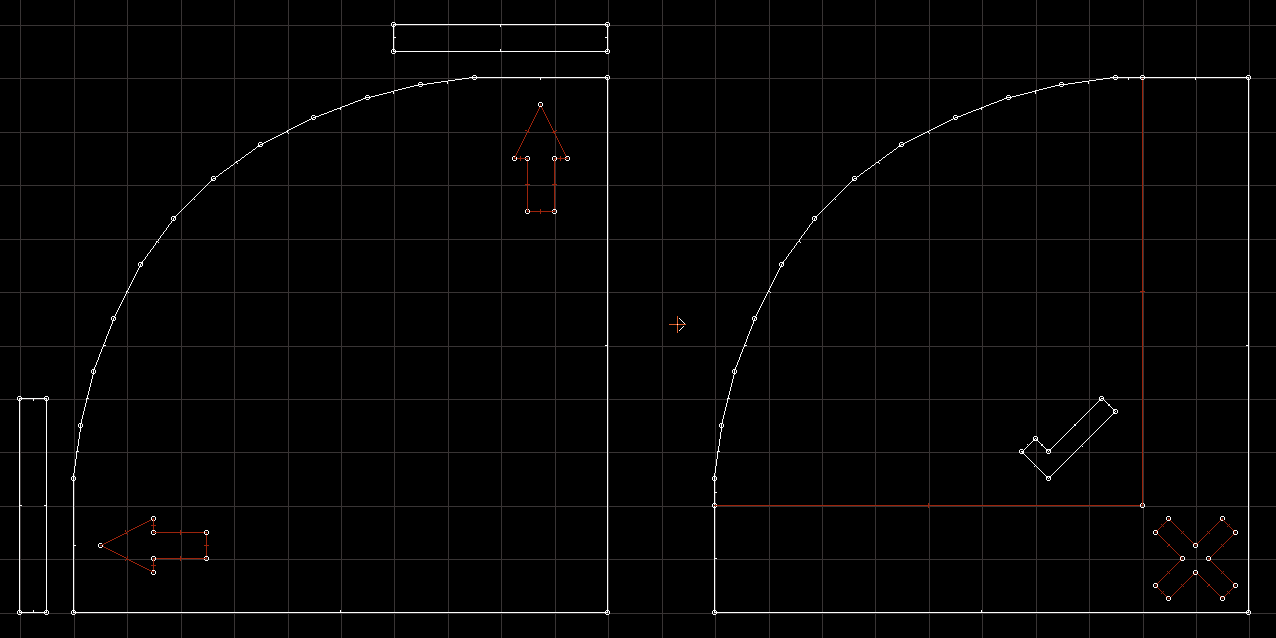
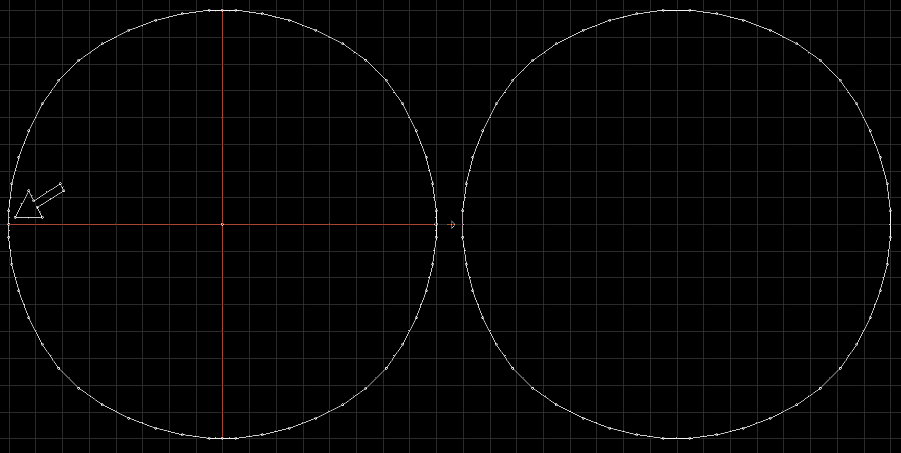
Select our shape using the ALT method (NOT SHIFT), Insert, Flip it by pressing X, drag and connect the edges. Deselect. Select this new half circle, Insert, Flip it by pressing Y, drag and connect the other edges. Deselect. We have a circle. Complete the process by joining all four quadrants and merging the extra vertex along straight lines to their neighbour. Perfect!

This might become confusing when constantly switching between gridsizes but don't feel overwhelmed. 2 grid squares at gridsize 3 (256 Units) will become 4 grid squares wide at gridsize 4 (128 Units) Refer to the screenshot below.

Word of warning about 45 degree diagonal walls; Through experience I've found that for every 2 grid squares is roughly equal to 3 grid squares at the next gridsize down. This is where things can get a little confusing at times, but if we stuck to the usual measurement here the results wouldn't look correct.

Once that stage is over we repeat the same trimming process as before whichever you feel most comfortable with. When complete we'll have a smoother quarter circle.

Let's find out how this looks when made whole! First we'll need to find our original halfway point along the straight lines assuming it's no longer there. Don't be mislead by Mapster's useful guide this time. We started at the largest gridsize, 4 squares long, so drag the vertices two squares inward. If desired you can make yourself a handy guide to find the halfway point as shown if it helps, probably useful when working with different sized circles. Trim away the excess (marked with an X) to get our perfect quarter circle.

Select our shape using the ALT method (NOT SHIFT), Insert, Flip it by pressing X, drag and connect the edges. Deselect. Select this new half circle, Insert, Flip it by pressing Y, drag and connect the other edges. Deselect. We have a circle. Complete the process by joining all four quadrants and merging the extra vertex along straight lines to their neighbour. Perfect!

4. UNCLEAN MEASUREMENTS
Spoiler
Perhaps you're looking to create a curve/circle using measurements that might seem trickier to work with. In our earlier example we used clean measurements. However if instead I wanted my first straight line to be 1536 units wide instead of 1024 units wide, we'll have to adjust slightly. Previous methods still work here for setting up our vertices for trimming. We must ensure that each vertex is the exact same number of grid spaces between every corner vertex.
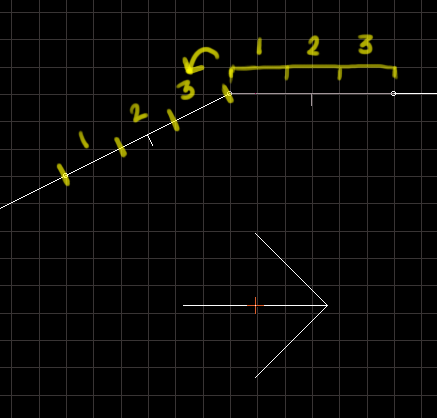
One convoluted solution would be reducing the gridsize until you can count several sets of 2 grid spaces before reaching a vertex without any odd numbers. Then apply the same number of sets to the other lines. Referring to the image below; @ gridsize 4 we have 3 squares. @ gridsize 5 we now have 6. That's 3 sets of two. This is the measurement we can use for our next vertex positions accurately. So long as the measurements are exact based on grid spaces, all should be fine regardless of method used to count them. Also, don't forget the difference with 45 degree angle walls! For every 2 squares is relative to 3 squares at the next gridsize down. In this example once we reach that stage would require 3 sets of 3 squares.
One convoluted solution would be reducing the gridsize until you can count several sets of 2 grid spaces before reaching a vertex without any odd numbers. Then apply the same number of sets to the other lines. Referring to the image below; @ gridsize 4 we have 3 squares. @ gridsize 5 we now have 6. That's 3 sets of two. This is the measurement we can use for our next vertex positions accurately. So long as the measurements are exact based on grid spaces, all should be fine regardless of method used to count them. Also, don't forget the difference with 45 degree angle walls! For every 2 squares is relative to 3 squares at the next gridsize down. In this example once we reach that stage would require 3 sets of 3 squares.

5. ON GRID OVALS; FOR NON-PERFECT CIRCULAR CURVES.
Spoiler
This actually becomes quite easy to achieve once the desired circle is created thanks to useful features within Mapster32. Scaling! The great thing about this is our circle can also remain on-grid even when squashed.
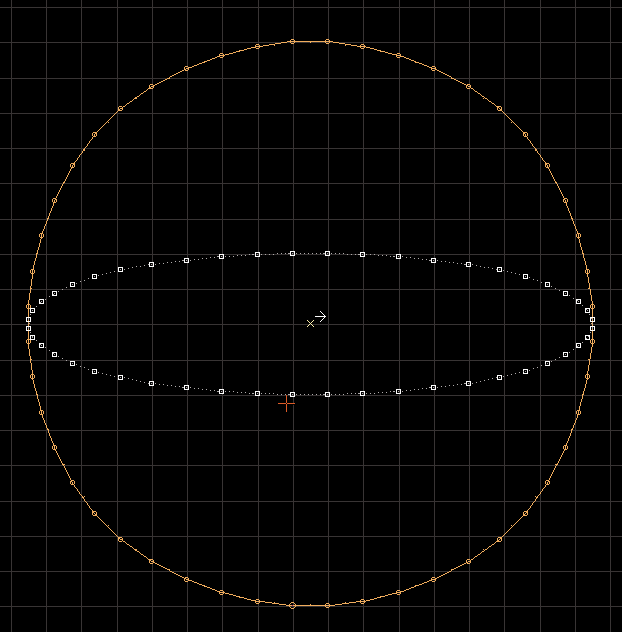
Select the circle's vertices using the SHIFT method (NOT ALT) Now hold LEFT-SHIFT and left-click drag a vertex to start pulling or pushing our shape around. I recommend only dragging the vertices along the straight lines to ensure we remain on-grid. Dragging the top/bottom vertices will (mostly) restrict our scaling to north & south, while dragging the left/right vertices will restrict our scaling to EAST/WEST. Try to avoid other vertices if you want to remain on-grid for easier editing later.
Select the circle's vertices using the SHIFT method (NOT ALT) Now hold LEFT-SHIFT and left-click drag a vertex to start pulling or pushing our shape around. I recommend only dragging the vertices along the straight lines to ensure we remain on-grid. Dragging the top/bottom vertices will (mostly) restrict our scaling to north & south, while dragging the left/right vertices will restrict our scaling to EAST/WEST. Try to avoid other vertices if you want to remain on-grid for easier editing later.

6. ALTERNATIVE CIRCLES WITHOUT THE STRAIGHT EDGES
Spoiler
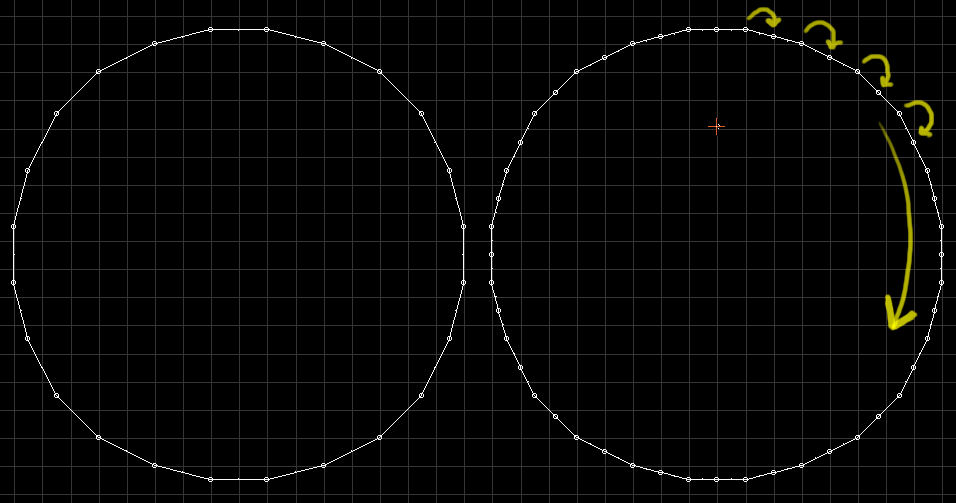
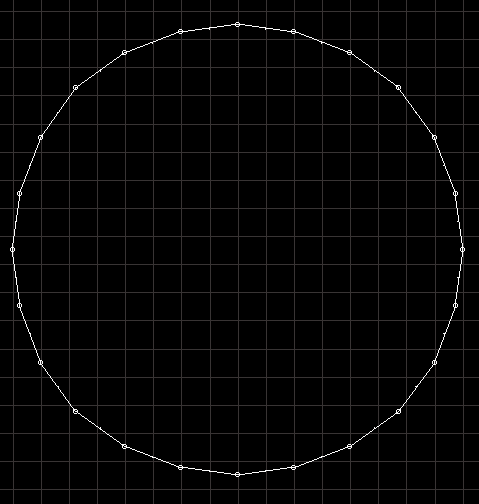
Either you don't want the straight edges or want a 12 sided semi-circle instead of a 13 sided one, follow the guide as usual but include one extra step at the end as follows; Place vertices along every line's halfway point. These will function as our new corners for the intended shape. Next, merge an old vertex into a new vertex and work clockwise. You should now have the desired circle.


7. ARCHWAYS
Spoiler
Now that we can create circles without too much trouble, these can be used as a guideline into creating archways using slopes.
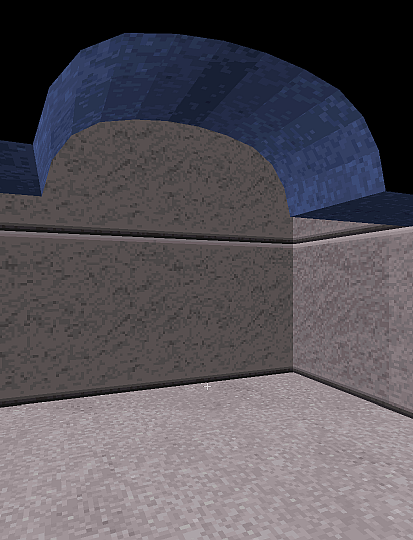
Using you desired size of circle as reference, cut the sector into individual sectors referencing the position of each vertex from the circle. Once complete, set each sector's first wall appropriately.
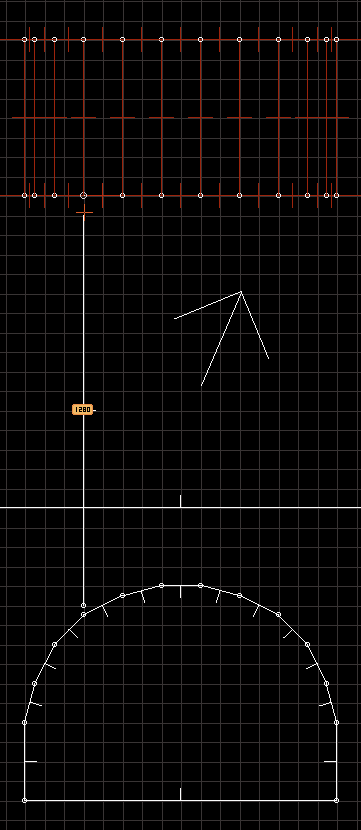
Based on our original circle the first slope touches the next vertex after 4 squares. We can equate that to four key-presses of either page-up or page-down in 3D mode for the second sector. The next sector is then 3 presses. Then 2. And so on. In my example I chose not to raise the first sector; feel free to do so if desired. Adjust accordingly! Remember to also experiment using the HOME or END modifiers if each sector is raising too high. Finally we can slope each sector upwards for a smooth curved archway. Use ALT+[ or ALT+] for best results.
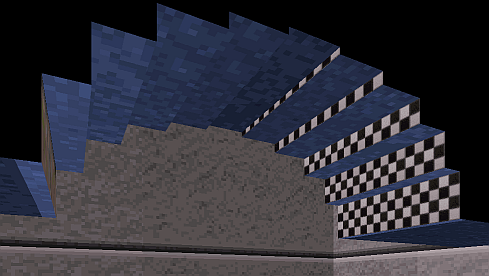

Using you desired size of circle as reference, cut the sector into individual sectors referencing the position of each vertex from the circle. Once complete, set each sector's first wall appropriately.

Based on our original circle the first slope touches the next vertex after 4 squares. We can equate that to four key-presses of either page-up or page-down in 3D mode for the second sector. The next sector is then 3 presses. Then 2. And so on. In my example I chose not to raise the first sector; feel free to do so if desired. Adjust accordingly! Remember to also experiment using the HOME or END modifiers if each sector is raising too high. Finally we can slope each sector upwards for a smooth curved archway. Use ALT+[ or ALT+] for best results.

DOWNLOAD EXAMPLE MAP (_OnGridCircles.map)

 Help
Help
 Duke4.net
 DNF #1
 Duke 3D #1


