Help
Help
 Duke4.net
 DNF #1
 Duke 3D #1


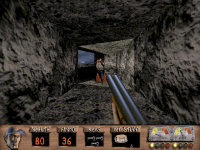
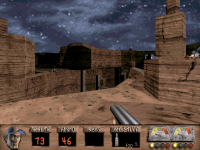
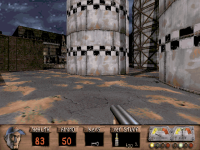
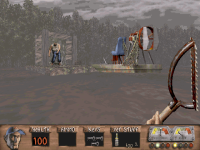
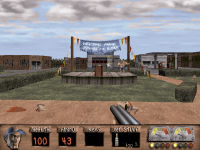
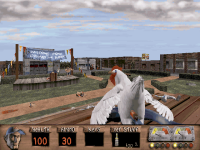
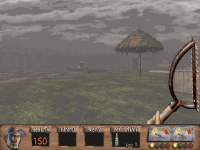
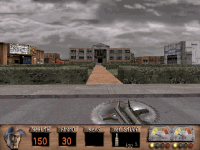
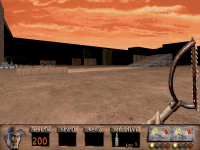
Sunny Shores
Walkthrough:
Spoiler
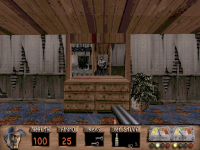
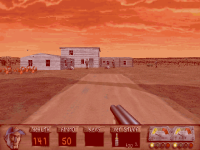
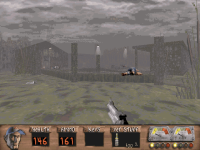
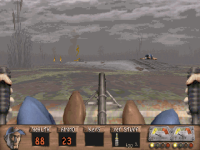
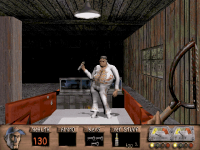
Step 1: Find the airplane wreckage. That's in the south-eastern portion of the map. Key 1 is in the sunken cockpit. Step 2: Head to the western section of the map (if you backtrack to the start and head west with the airboat, then you'll see where you need to go). You'll find a branch in the path, marked by a log. Get out of the Airboat here and venture forward through the left path on foot. You'll eventually come across a black house with Door 1. Head inside, go through the back door, and Key 2 is near the furnace. Step 3: Head to the north-western part of the map, with Switch 3 on the end of the dock, and a black building with Door 2 on the other side. Past Door 2, you'll find Key 3 on some crates. Switch 3 opens the huge gate to the right. Follow the new path forward and you'll find Bubba.
Review:
Spoiler
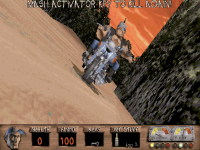
Welcome to Homeward Bound! Sunny Shores is a map that you'll probably hate on your first time through, but on repeat playthroughs it's actually one of the better maps in the set. This map is notable for using an entirely new set of textures and introducing the Airboat. Whereas the Half-Life 2 Airboat is stiffer to control, runs into things much easier, is required to solve a variety of physics puzzles and gets a hitscan weapon attached to it later on, the RRRA Airboat slips around like you're driving on oil, does less damage on collision than the Motorcycle, has unreliable mortar shells for damage output and is used purely for convenience, as this map is mostly you being hip deep in slime. There's not even a breakable wall secret you can destroy with the mortars, come on! Sliding around the water while boosted by a Moonshine is genuinely really fun, but perhaps the most tragic thing about this map is that the author stuffed all of the Moonshines behind Door 1, and the rest of the doors and keys are all right next to eachother. Spreading the Moonshines out everywhere to allow for zipping around at maximum speed all of the time, or spreading out the necessary keys and doors better would have given this map about 2 and a half extra points. As it stands though, it only gets 1 and a half extra. Sad!
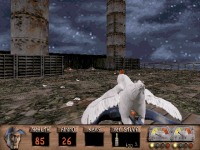
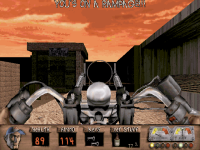
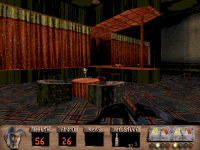
The only thing that might be more disappointing are the rest of the "new" monsters. You wanted new monsters in this game with only 14 maps that took less than a year to develop, and also blew all of the cool ones in the first map? Here you go! If the Motorfrank exists, then it's only natural the Airhulk exists too. The Airhulk is a Hulk riding an Airboat. It shoots the same projectile the regular Hulk does, but unlike the Motorfrank, it doesn't spawn a Hulk after the vehicle blows up, probably for balancing reasons. It may or may not also spawn the other new monster, the Airturd. Airturds are Turd Minions riding on cute little Airboat tricycles. They throw the Turd Minion's projectile and also leave little shithead mines in the water that you can't ever see. They make going for Key 1 especially dangerous. This map has some great visuals though - the roofed forest area with the Frog Minions can take a hike, but it's constructed very well visually, and the underwater sequences, especially the one to get the secret Teat Guns, look unexpectedly psychedelic. I also like the signs a lot and how the Nudist Colony sign in particular is covered in vines and algae. The two textures that make up the sign blend in very well. Sunny Shores takes time to get used to, and it can occasionally be annoying, but it's definitely very well constructed.
7.5/10.
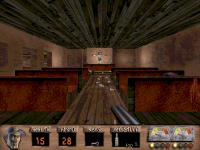
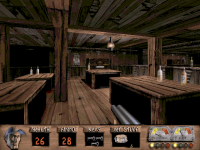
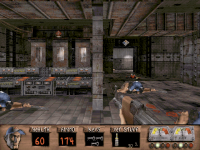
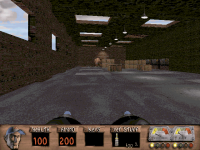
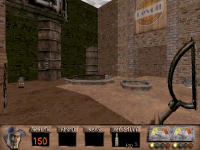
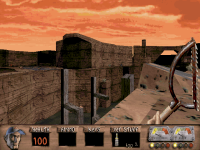
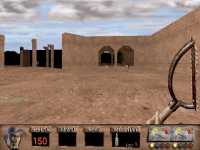
Gamblin' Boat
Walkthrough:
Spoiler
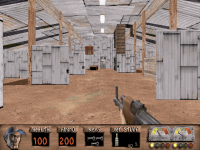
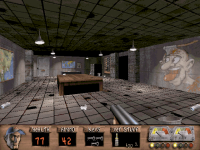
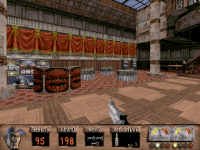
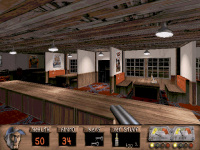
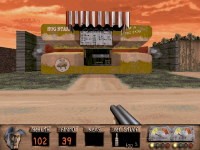
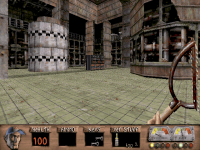
Climb aboard, then climb up to the highest point you can using the rotors and the staircase. You want to move to the front of the ship first, where there's a switch you can turn. That switch opens a door back where you came. There's a small alley on this gray area with the Cheerleaders, a door has opened there. Go through there, then follow up the stairs until you find Key 1. Now go down to the bottom level of the boat, where Key 1 is on the right side. From here, head left. Then make two more lefts, which should put you at a hallway with a sign reading "HONEYS" at the end. At the end of the hallway, the room on the left is open. Inside, there's a switch under the top bunk bed you can turn. That switch unlocks the door leading to the men's bathrooms (at the other hallway here, with a sign reading "FELLAS". Key 2 is in one of the showers. Now, backtrack to the lobby and head up the stairs. Door 2 is at the end of them. Behind the cash register in the Puckerin' Pig restaurant, there's a button you can press which unlocks the kitchen. In the kitchen, open the middle freezer. On the walls on both sides, there are two buttons to shoot with the Casull. Shooting both will open the other freezer doors, with the leftmost one having a switch to turn. That switch unlocks the doors at the other end.
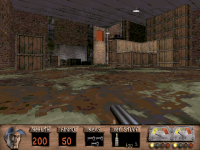
Key 3 is in the next room, guarded by a Hulk. Now get out of here and go explore the last place on the boat, which is to the right of the staircase. Switch 3 is off to the left of the fork, which lowers the elevator to the casino. Go down the stairs. To your right will be a roulette table, and behind it is a very sneaky button you can press. That opens doors on the upper level, and the door that's marked as Employees Only in the cabins (to the right of that fork I mentioned earlier). At the end of the engine room are two buttons you can press, followed by a switch you have to do a more than precise crouch jump to get to. Turn that, then turn behind you and go down the ladder. Turn the switch to raise the water level, then swim right and up. Hug the left wall for the rest of the escape sequence, it's not too hard to find your way out. When you do make it outside, the current will be pulling you towards Bubba.
Key 3 is in the next room, guarded by a Hulk. Now get out of here and go explore the last place on the boat, which is to the right of the staircase. Switch 3 is off to the left of the fork, which lowers the elevator to the casino. Go down the stairs. To your right will be a roulette table, and behind it is a very sneaky button you can press. That opens doors on the upper level, and the door that's marked as Employees Only in the cabins (to the right of that fork I mentioned earlier). At the end of the engine room are two buttons you can press, followed by a switch you have to do a more than precise crouch jump to get to. Turn that, then turn behind you and go down the ladder. Turn the switch to raise the water level, then swim right and up. Hug the left wall for the rest of the escape sequence, it's not too hard to find your way out. When you do make it outside, the current will be pulling you towards Bubba.
Review:
Spoiler
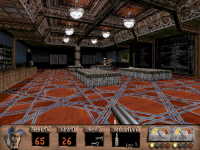
Gamblin' Boat is the first Redneck Rampage level where you're on a vehicle pulled by absolutely nothing. It's a pity the Motorcycle or the Airboat don't show up here, because then we could have had a vehicle on a vehicle level. This is another map that gets better on a repeat playthrough. It's quite easy to get lost in this map which makes me think that this was a Rhett Baldwin joint and he was just looking to pad out his map's runtime by complicating the progression unnecessarily, like he has demonstrated he can do many times beforehand. It's also very underpopulated, even if this is the first map with a double Vixen encounter and two Hulks. I only managed to kill 63 monsters here out of the total 73, and the only two fights that are any noteworthy are the Cheerleader staging area at the start, and the casino shootout which gets demolished by the Crossbow. The visuals are probably the highlight. I like that the map is kept relatively within the bounds of the outside shell of the boat, the casino looks pretty nice and uses the stained glass texture from Beaudry Mansion quite well, and the escape sequence after you blow up the engines to the boat is cool in concept, but there's not much urgency. You can leave the boat in under 30 seconds. I also like the slot machines you can play with. They're really broken as there's no penalty if you just spam use them, but they only show up in this map and the deathmatch map Luck Sore, and in the former's case they appear near the end of the map so any reward you get from them is rather neutered. Gamblin' Boat is a rather nice map to play if you can find a good MIDI to play alongside it. Otherwise, it's a bit of an ice statue.
7/10.
7/10.