 Help
Help
 Duke4.net
 DNF #1
 Duke 3D #1

1 : First thing you'll need are these maps to use with Mapster32. They come with an example and the landscape parts you'll need to build terrain with. Here's a link to the maps.
 Creating Landscapes v0.1.zip (140.26K)
Number of downloads: 331
2 : Then you'll need to do expand the grid map in Mapster32. There is more then one way to do this. I prefer opening the Mapster32 configuration file. Open this file with Notepad.

3 : Once you've open the file. Look for editorgridextent and change the number to 524288. This will expand the mapping grid to it's max. Allowing you to work with the landscape parts.
4 : Now go to mapster32 and open the map file Landscape-Lago.v0.01 You'll then see all the BETA landscape parts I've created. This is unfinished work. But it's already capable of making terrain.
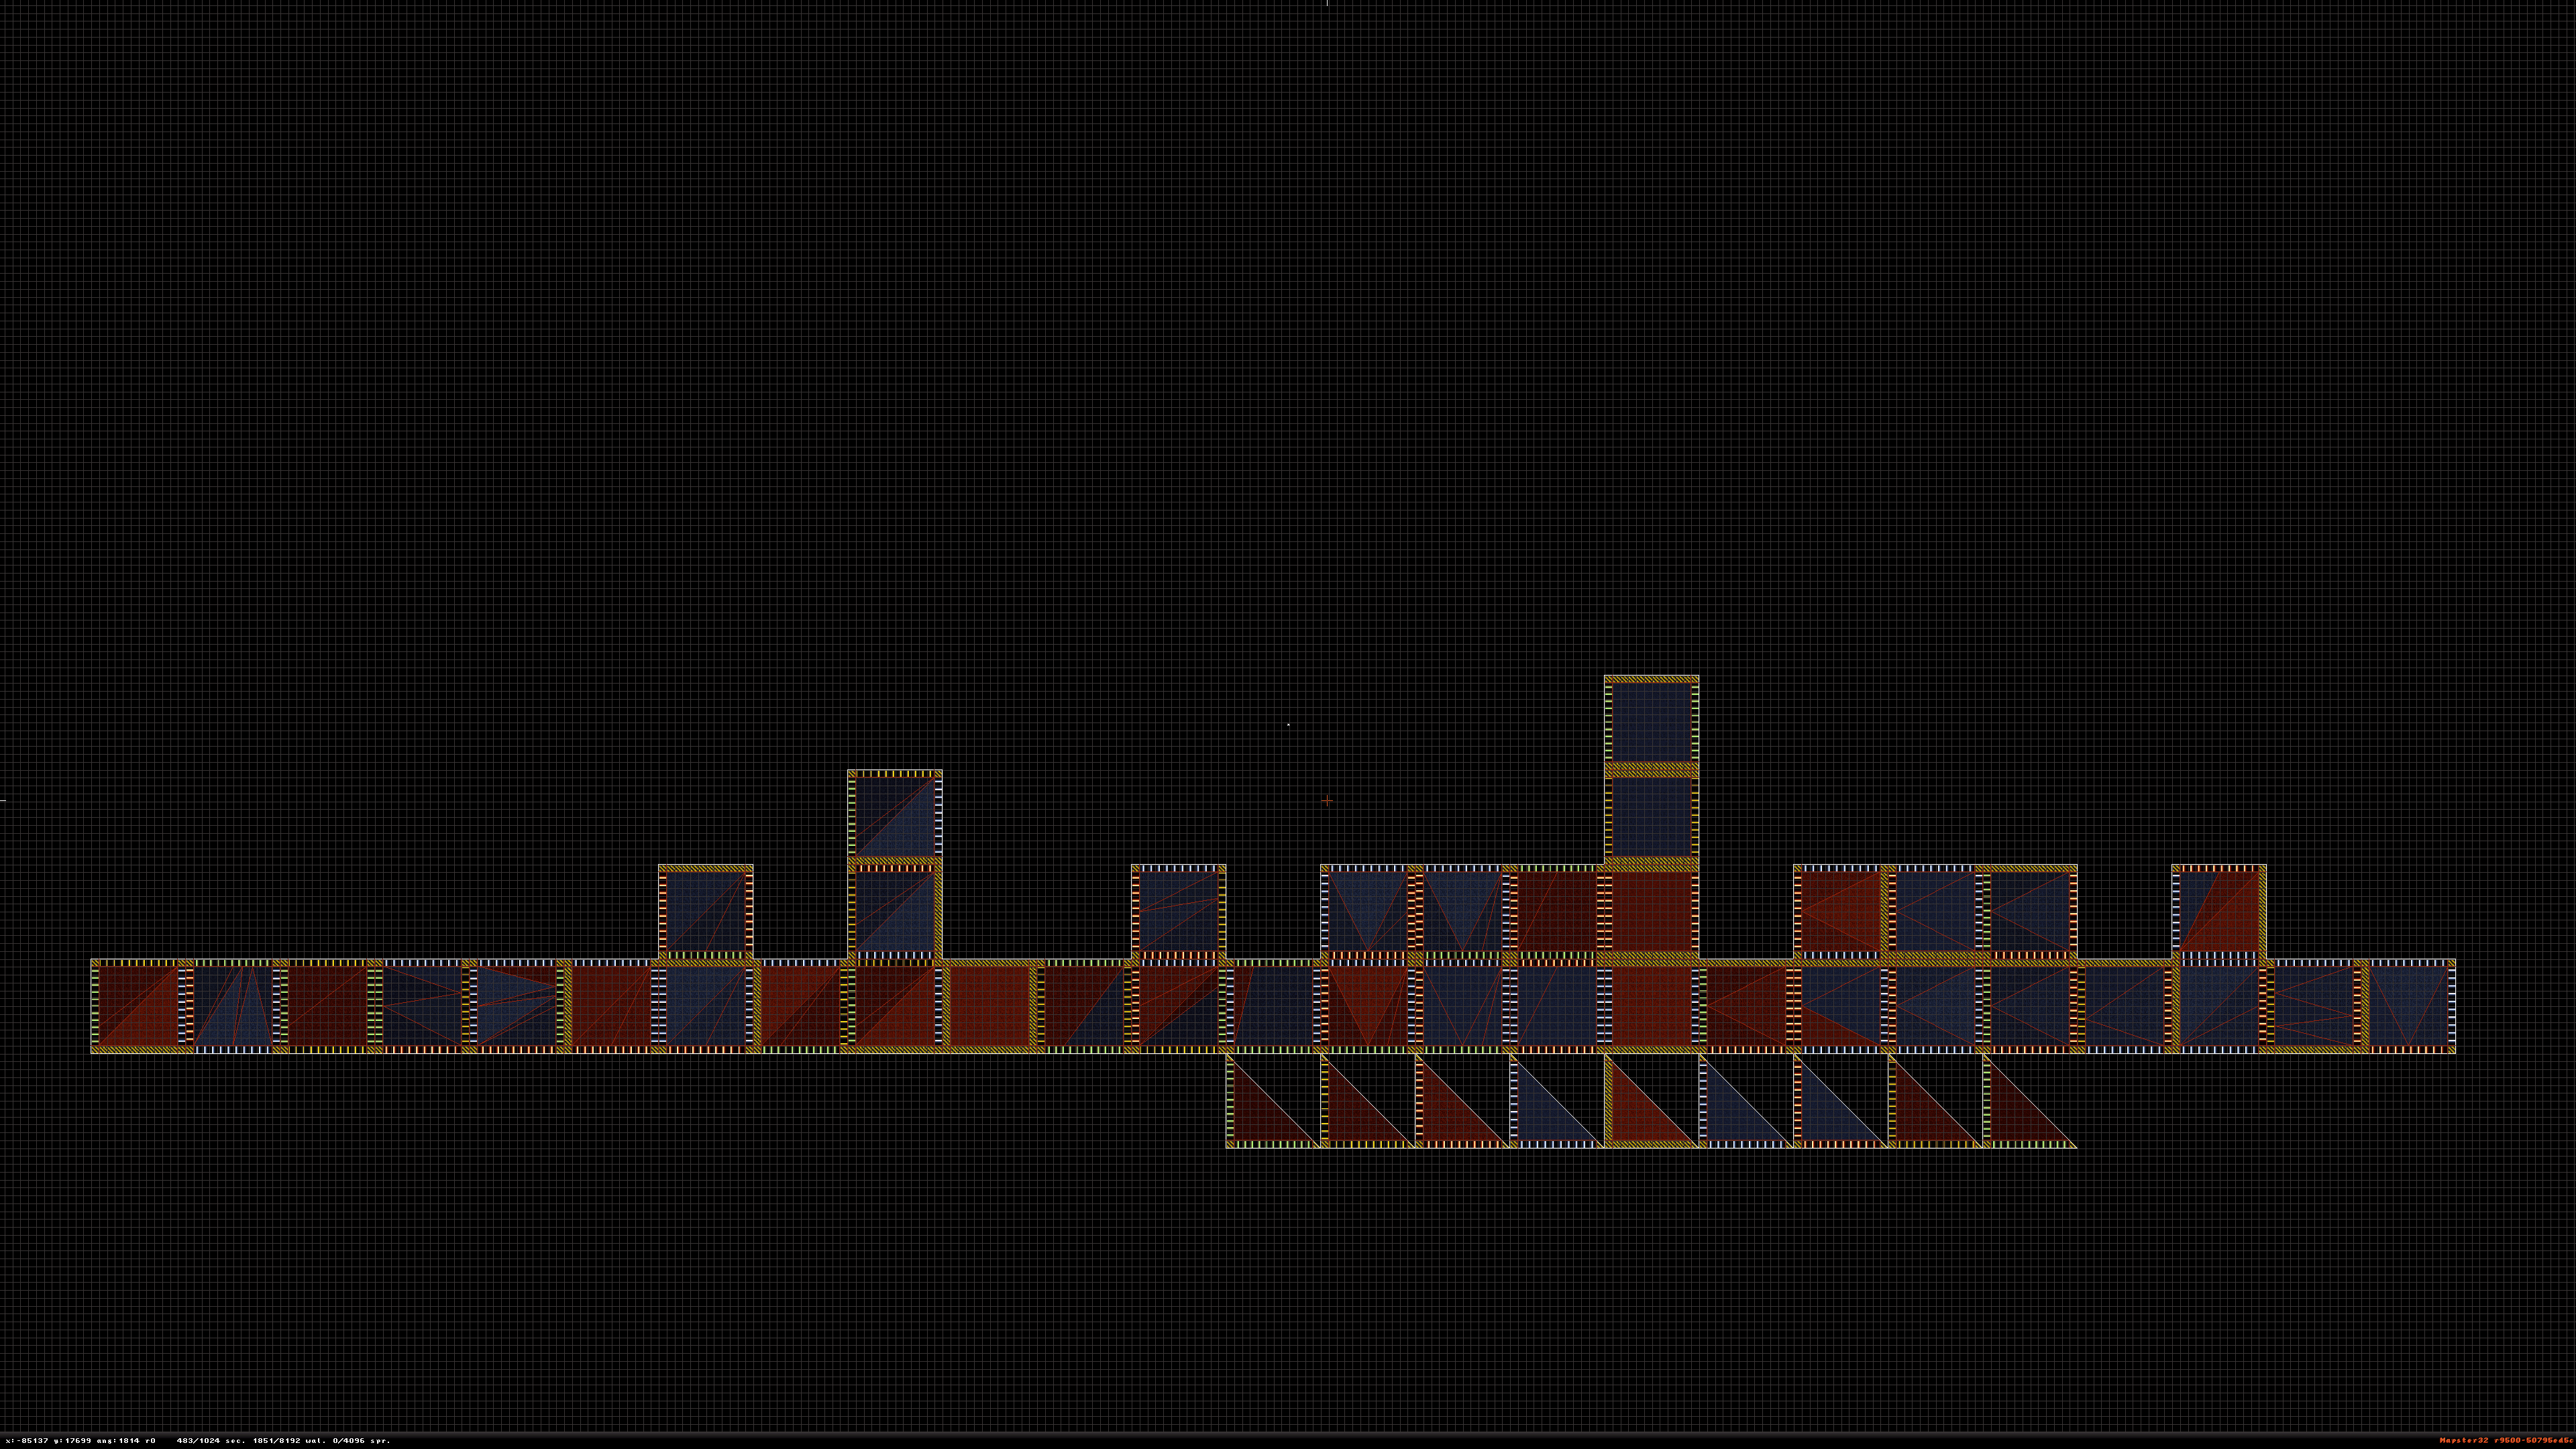
5 : You'll notice each landscape part has a moving color. This let's you know how high the slope is well also telling you what direction it's going in. This will be important in construction.
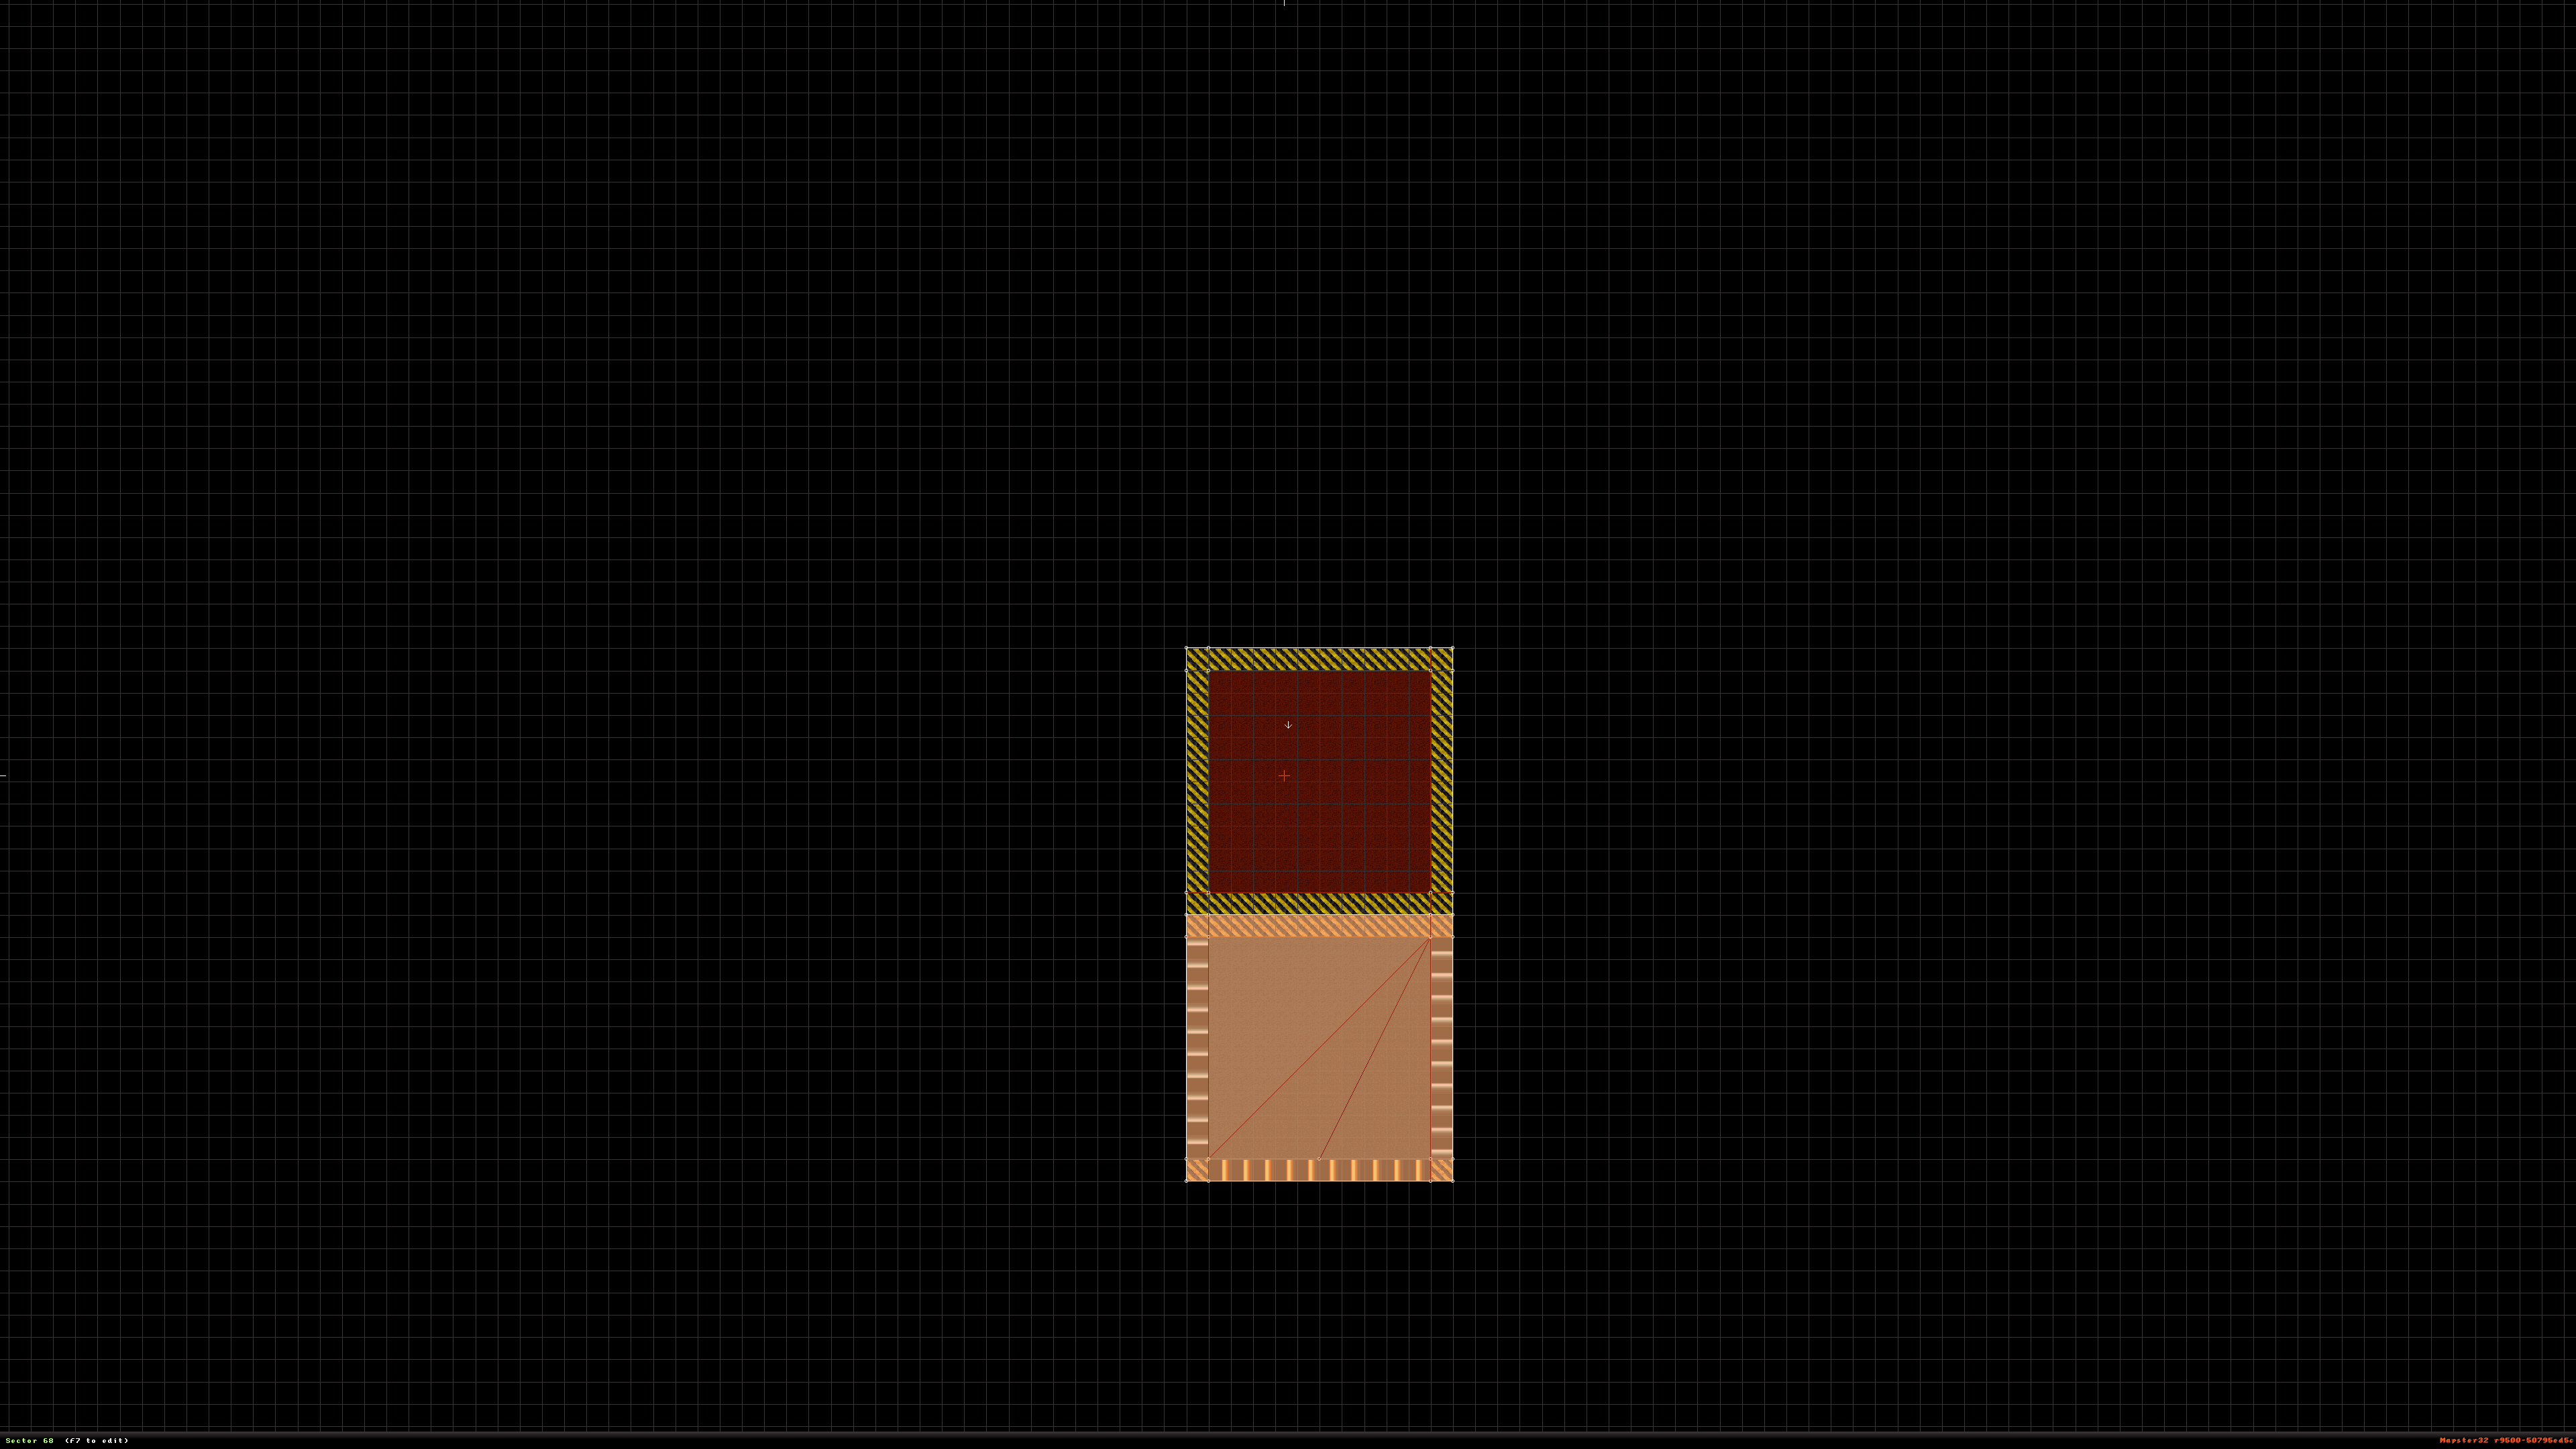
6 : You can choose from any part to start with. Because this is a tutorial we'll going to start with a flat landscape piece. Press and hold Right-ALT to highlight the selected landscape part.
7 : Next you're going to need to place the part down in the area you want to work in. Well highlighted copy the landscape part by pressing the Insert key. Then put it back with the other pieces.
8 : Remember those colored moving sides? Look for a landscape part with a matching side and connected to your first piece. Remember to keep it highlighted at first. You'll need to level it.
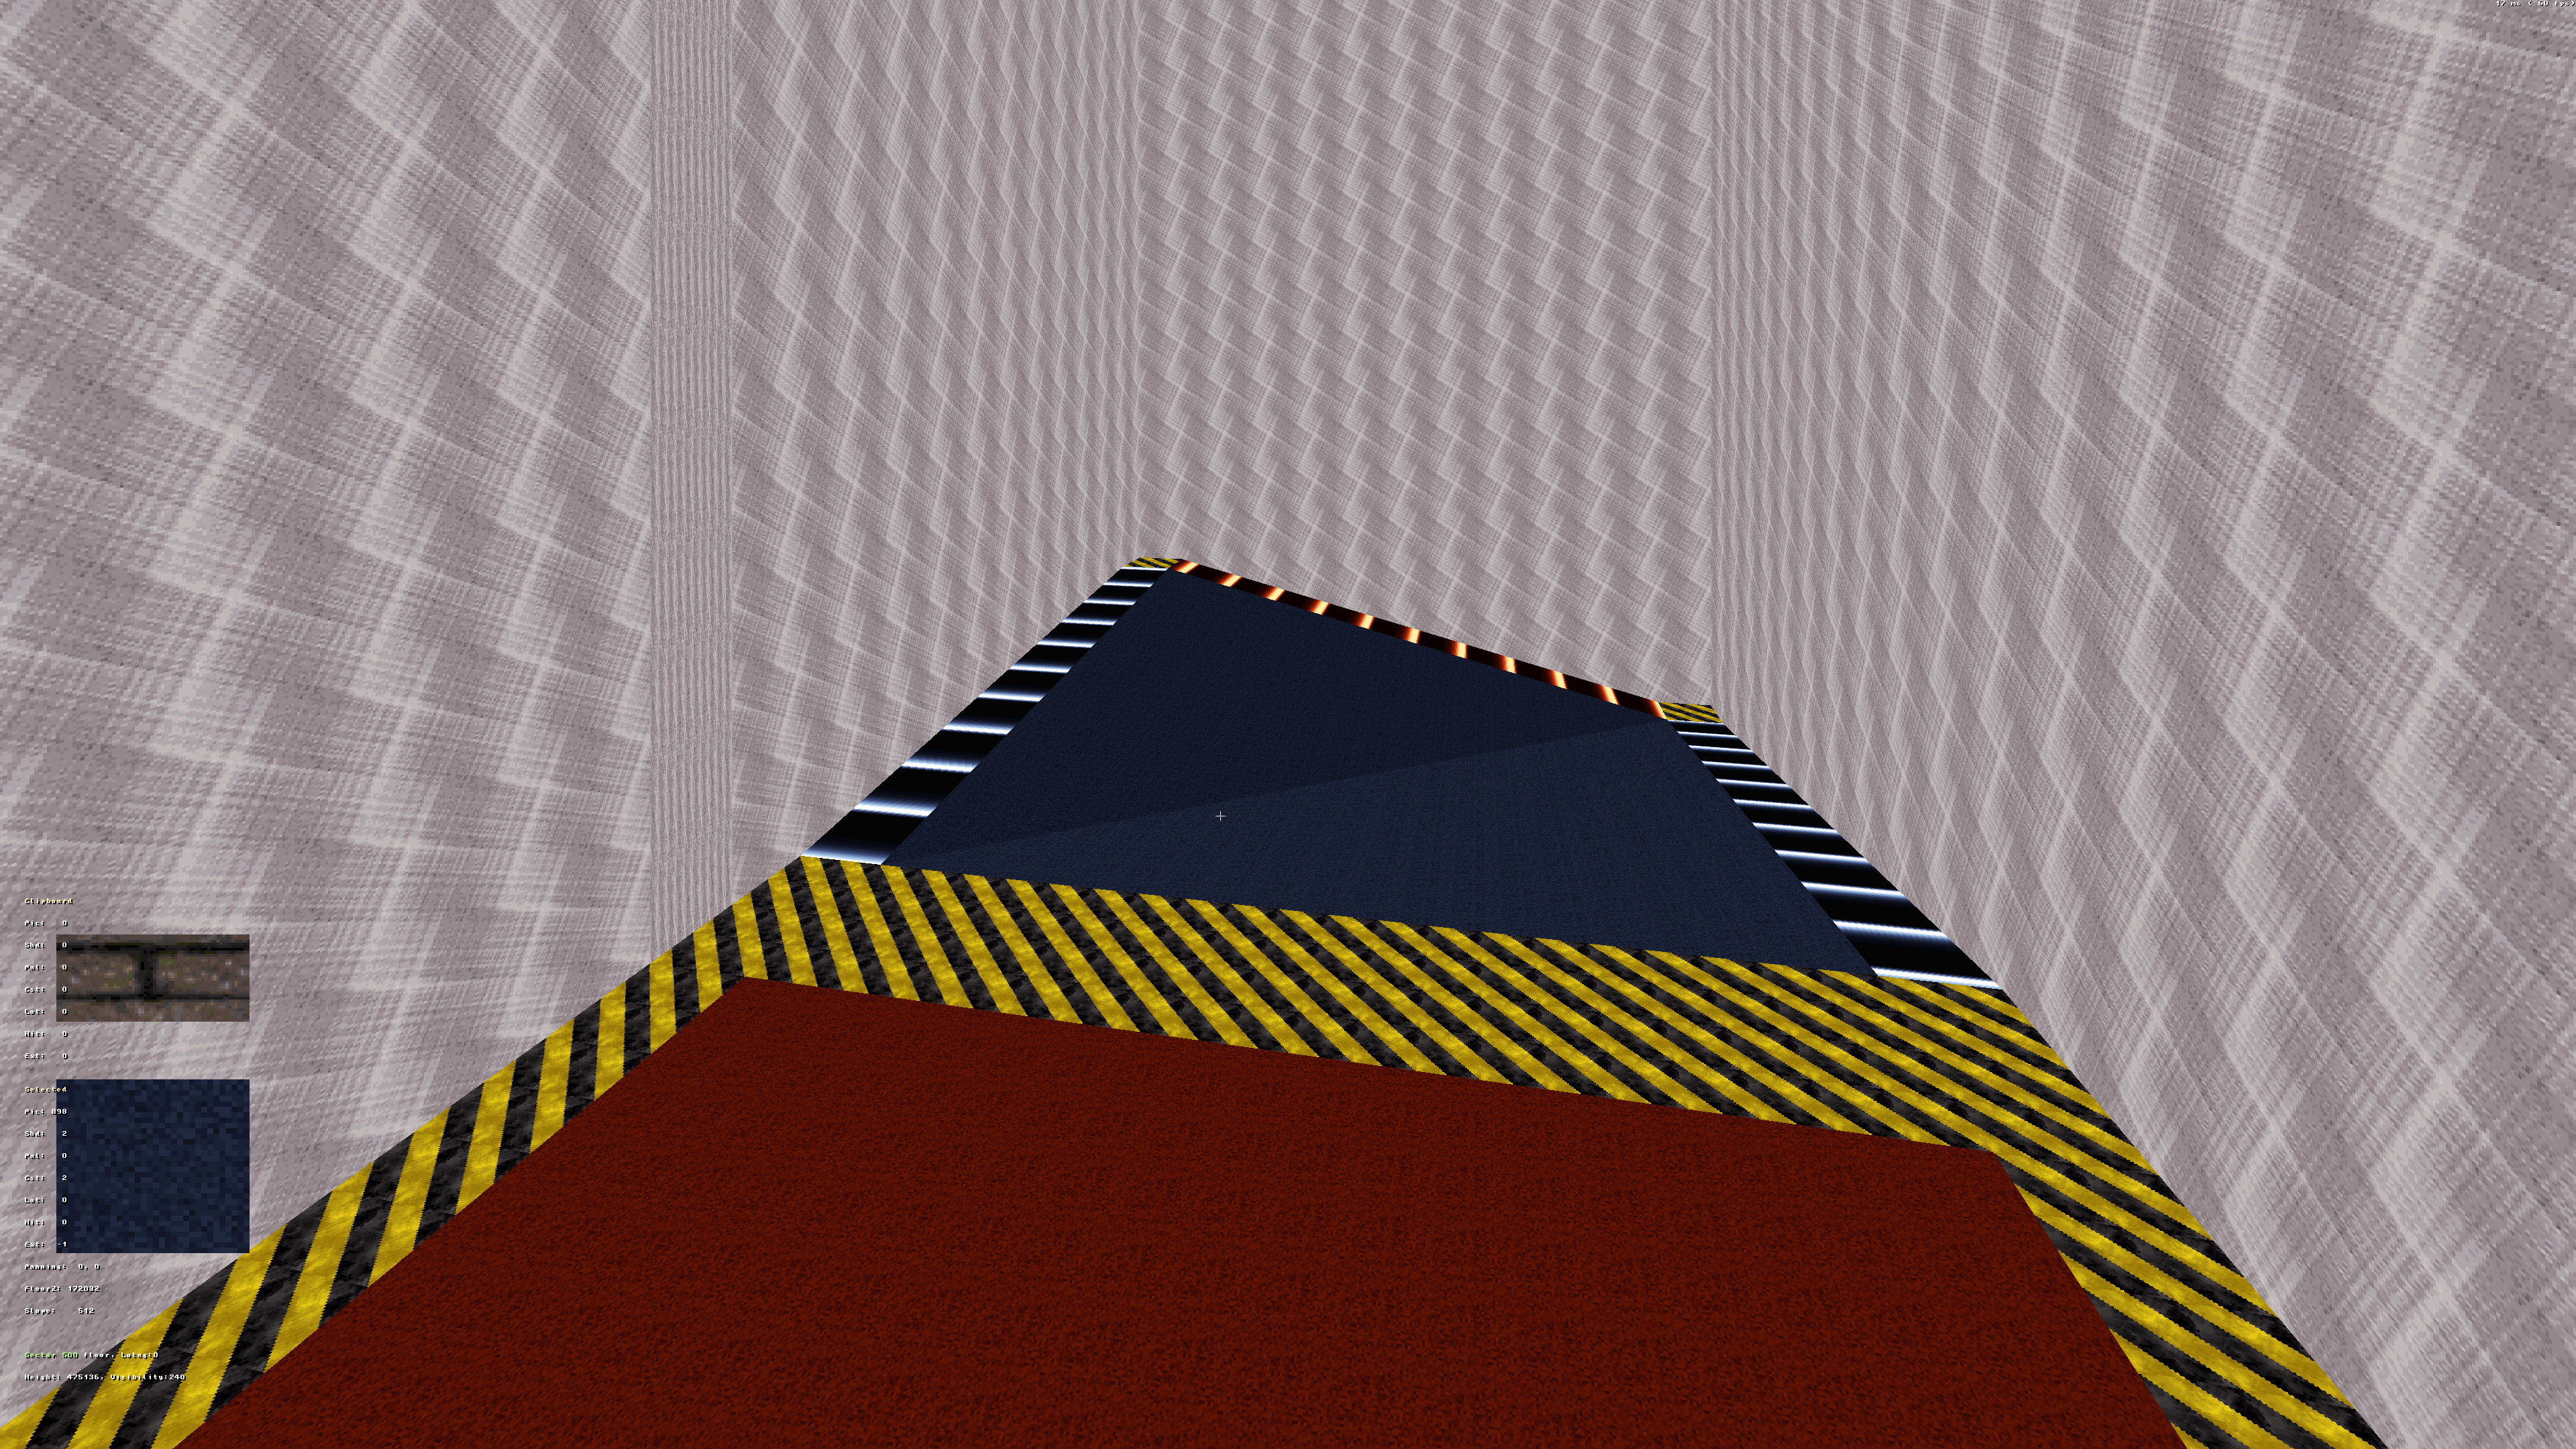
9 : The reason we keep this highlighted is because we're going to need to level it with the attached sector in 3D mode. Highlighting it allows you to raise or lower all sectors at the same time.
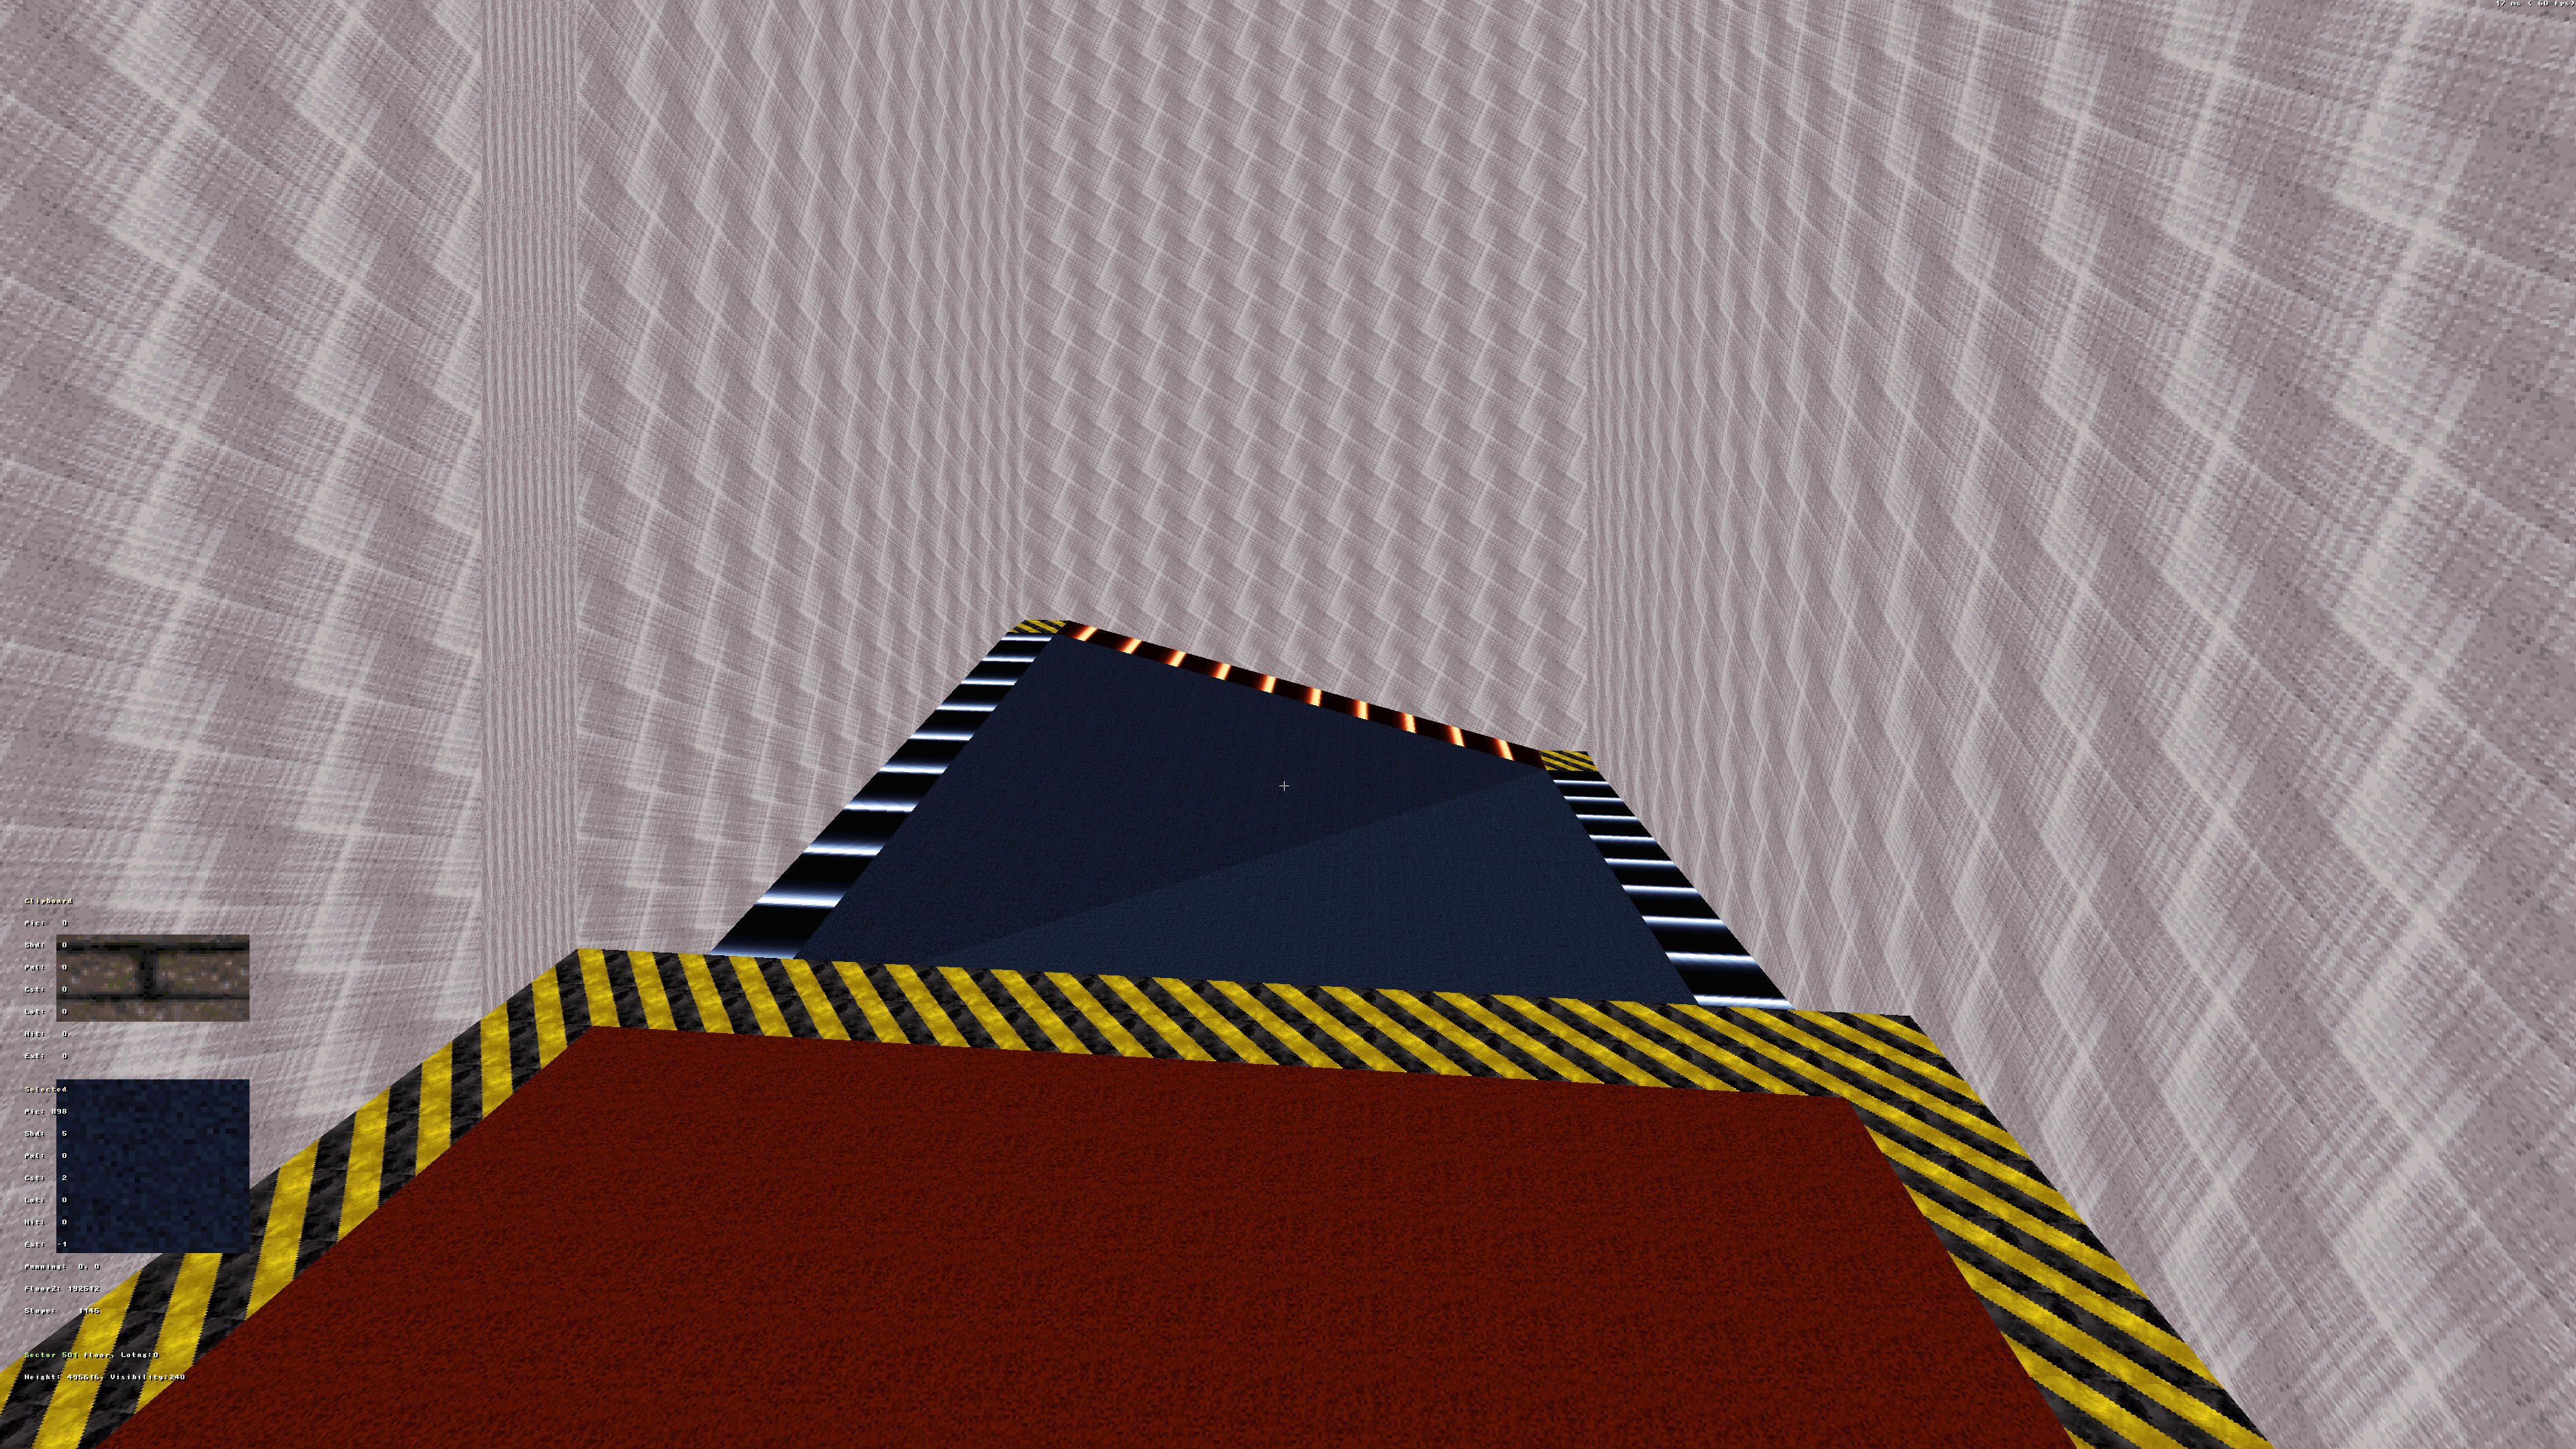
10 : Once your heightened sectors are leveled into place. It should look like this next picture. Now you've complete your first link and you're on your way to creating landscape terrain.
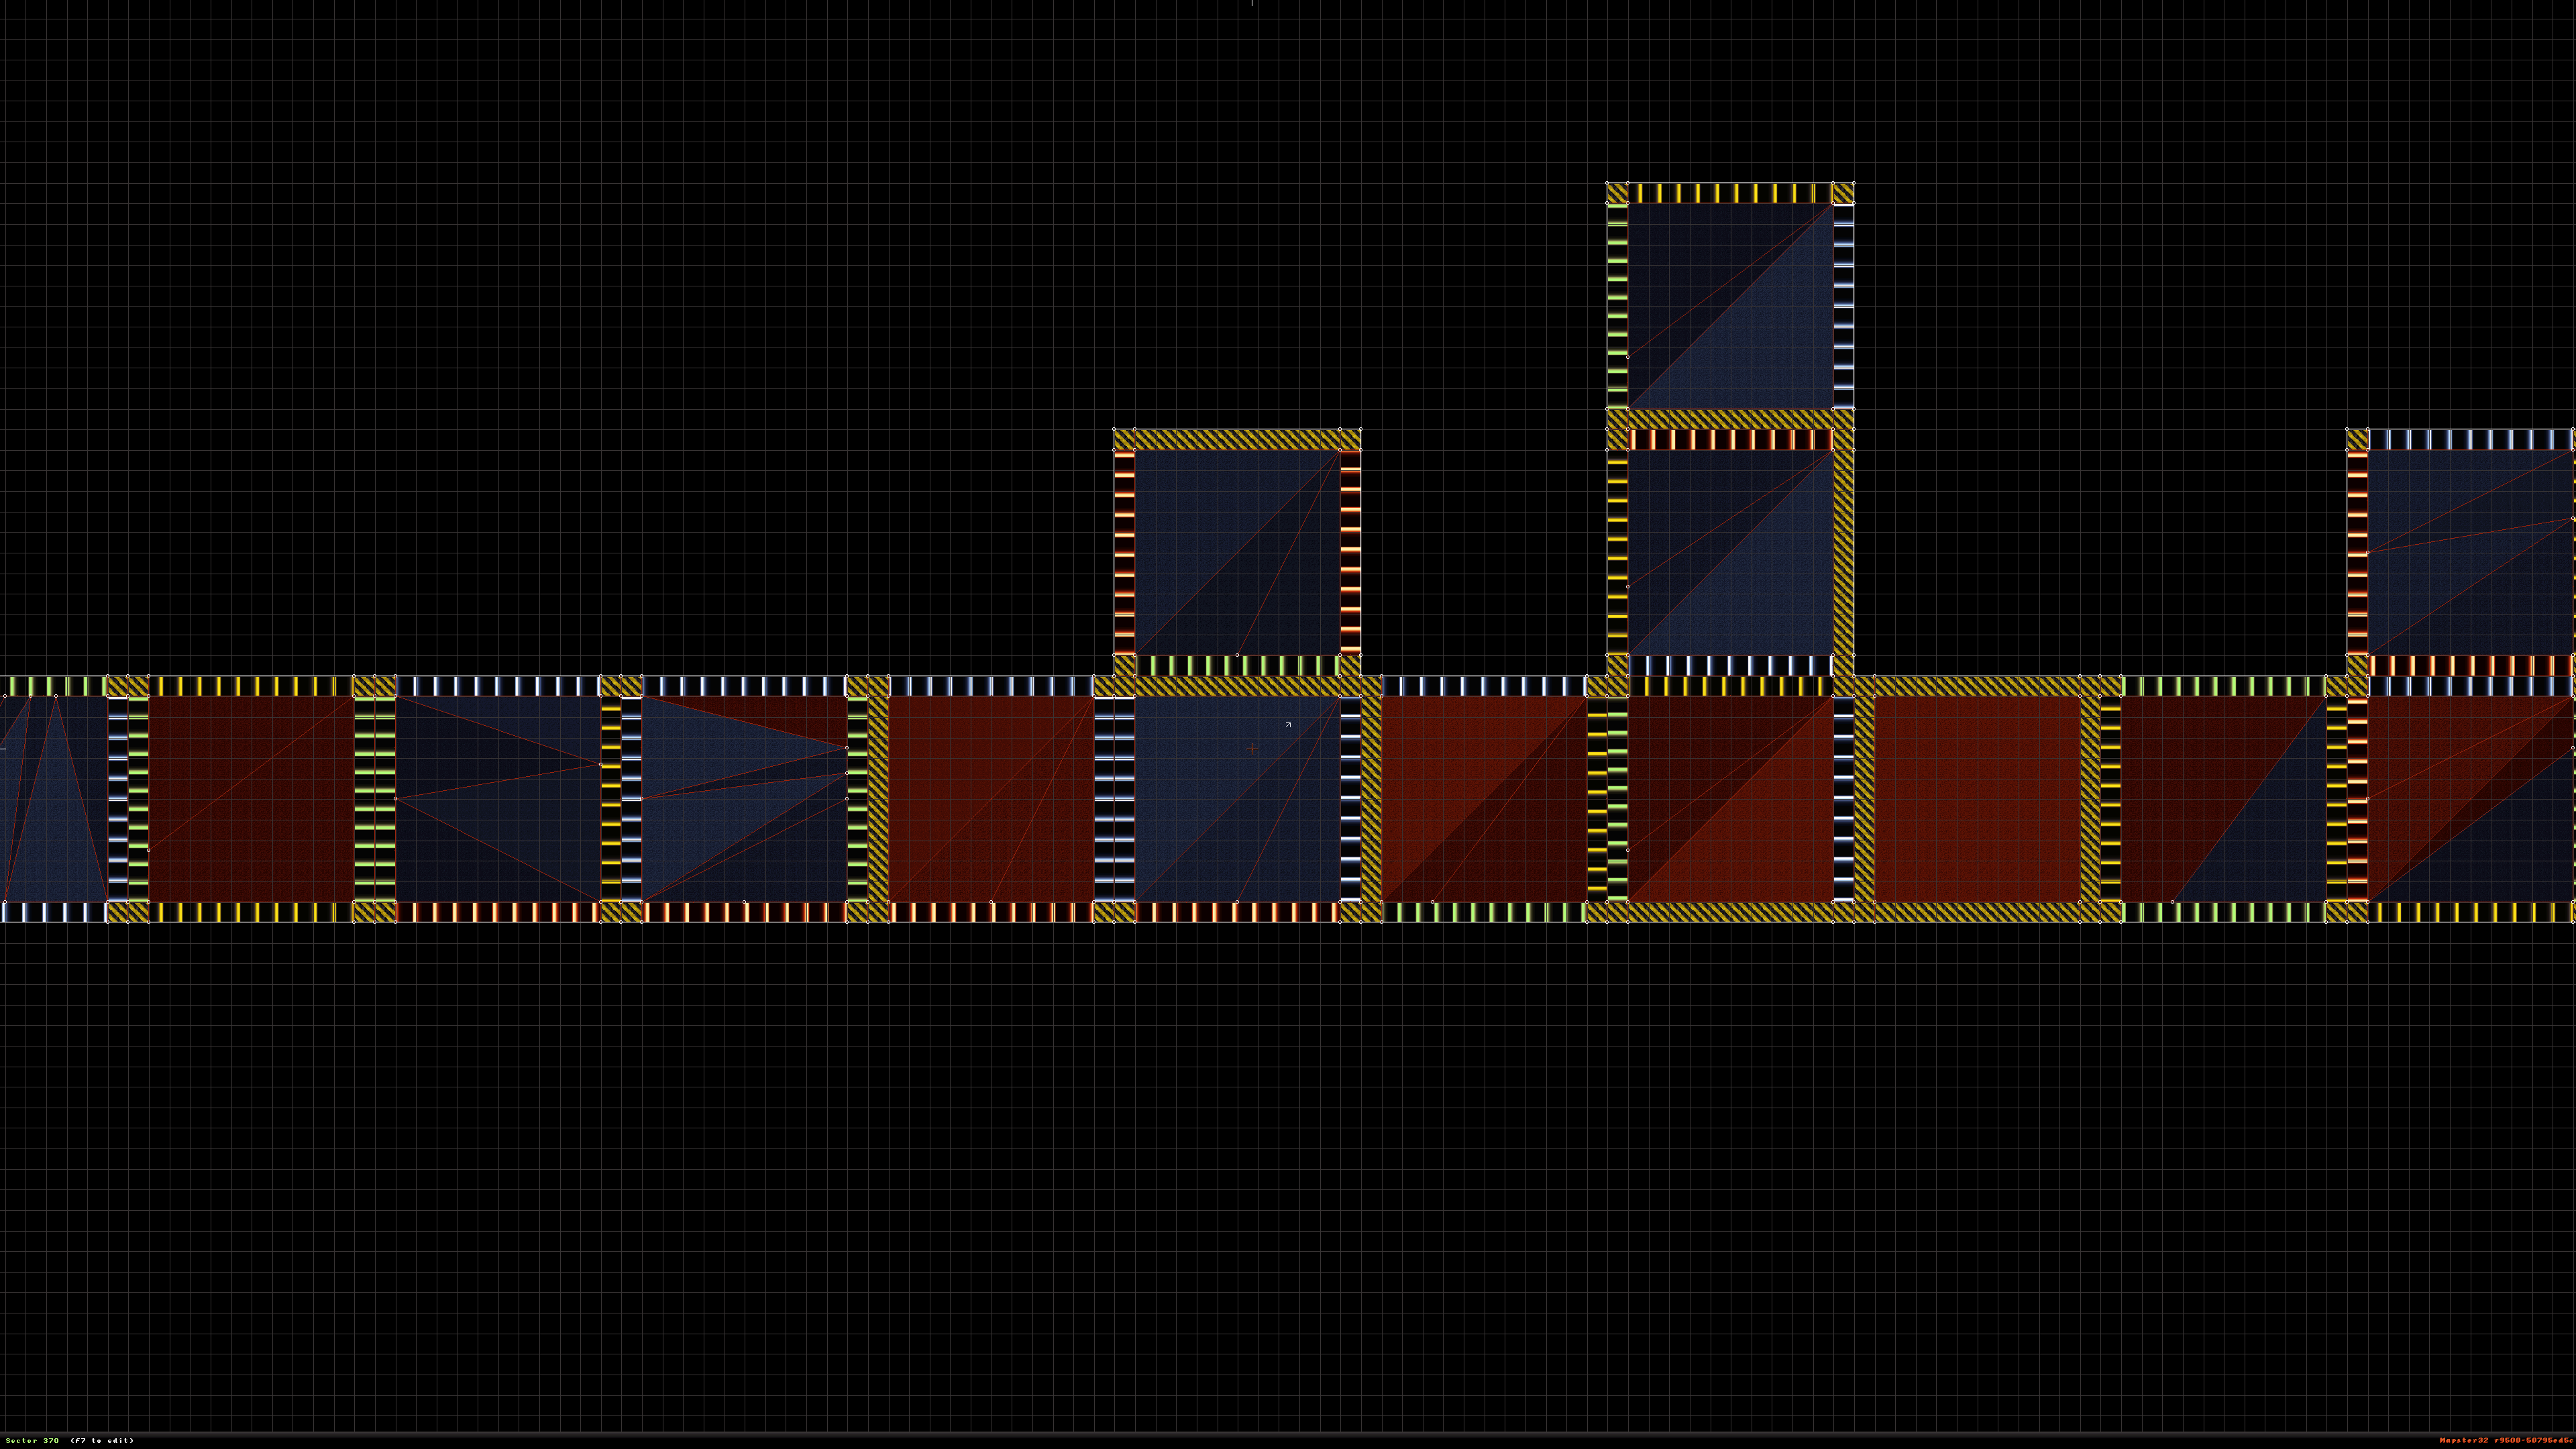
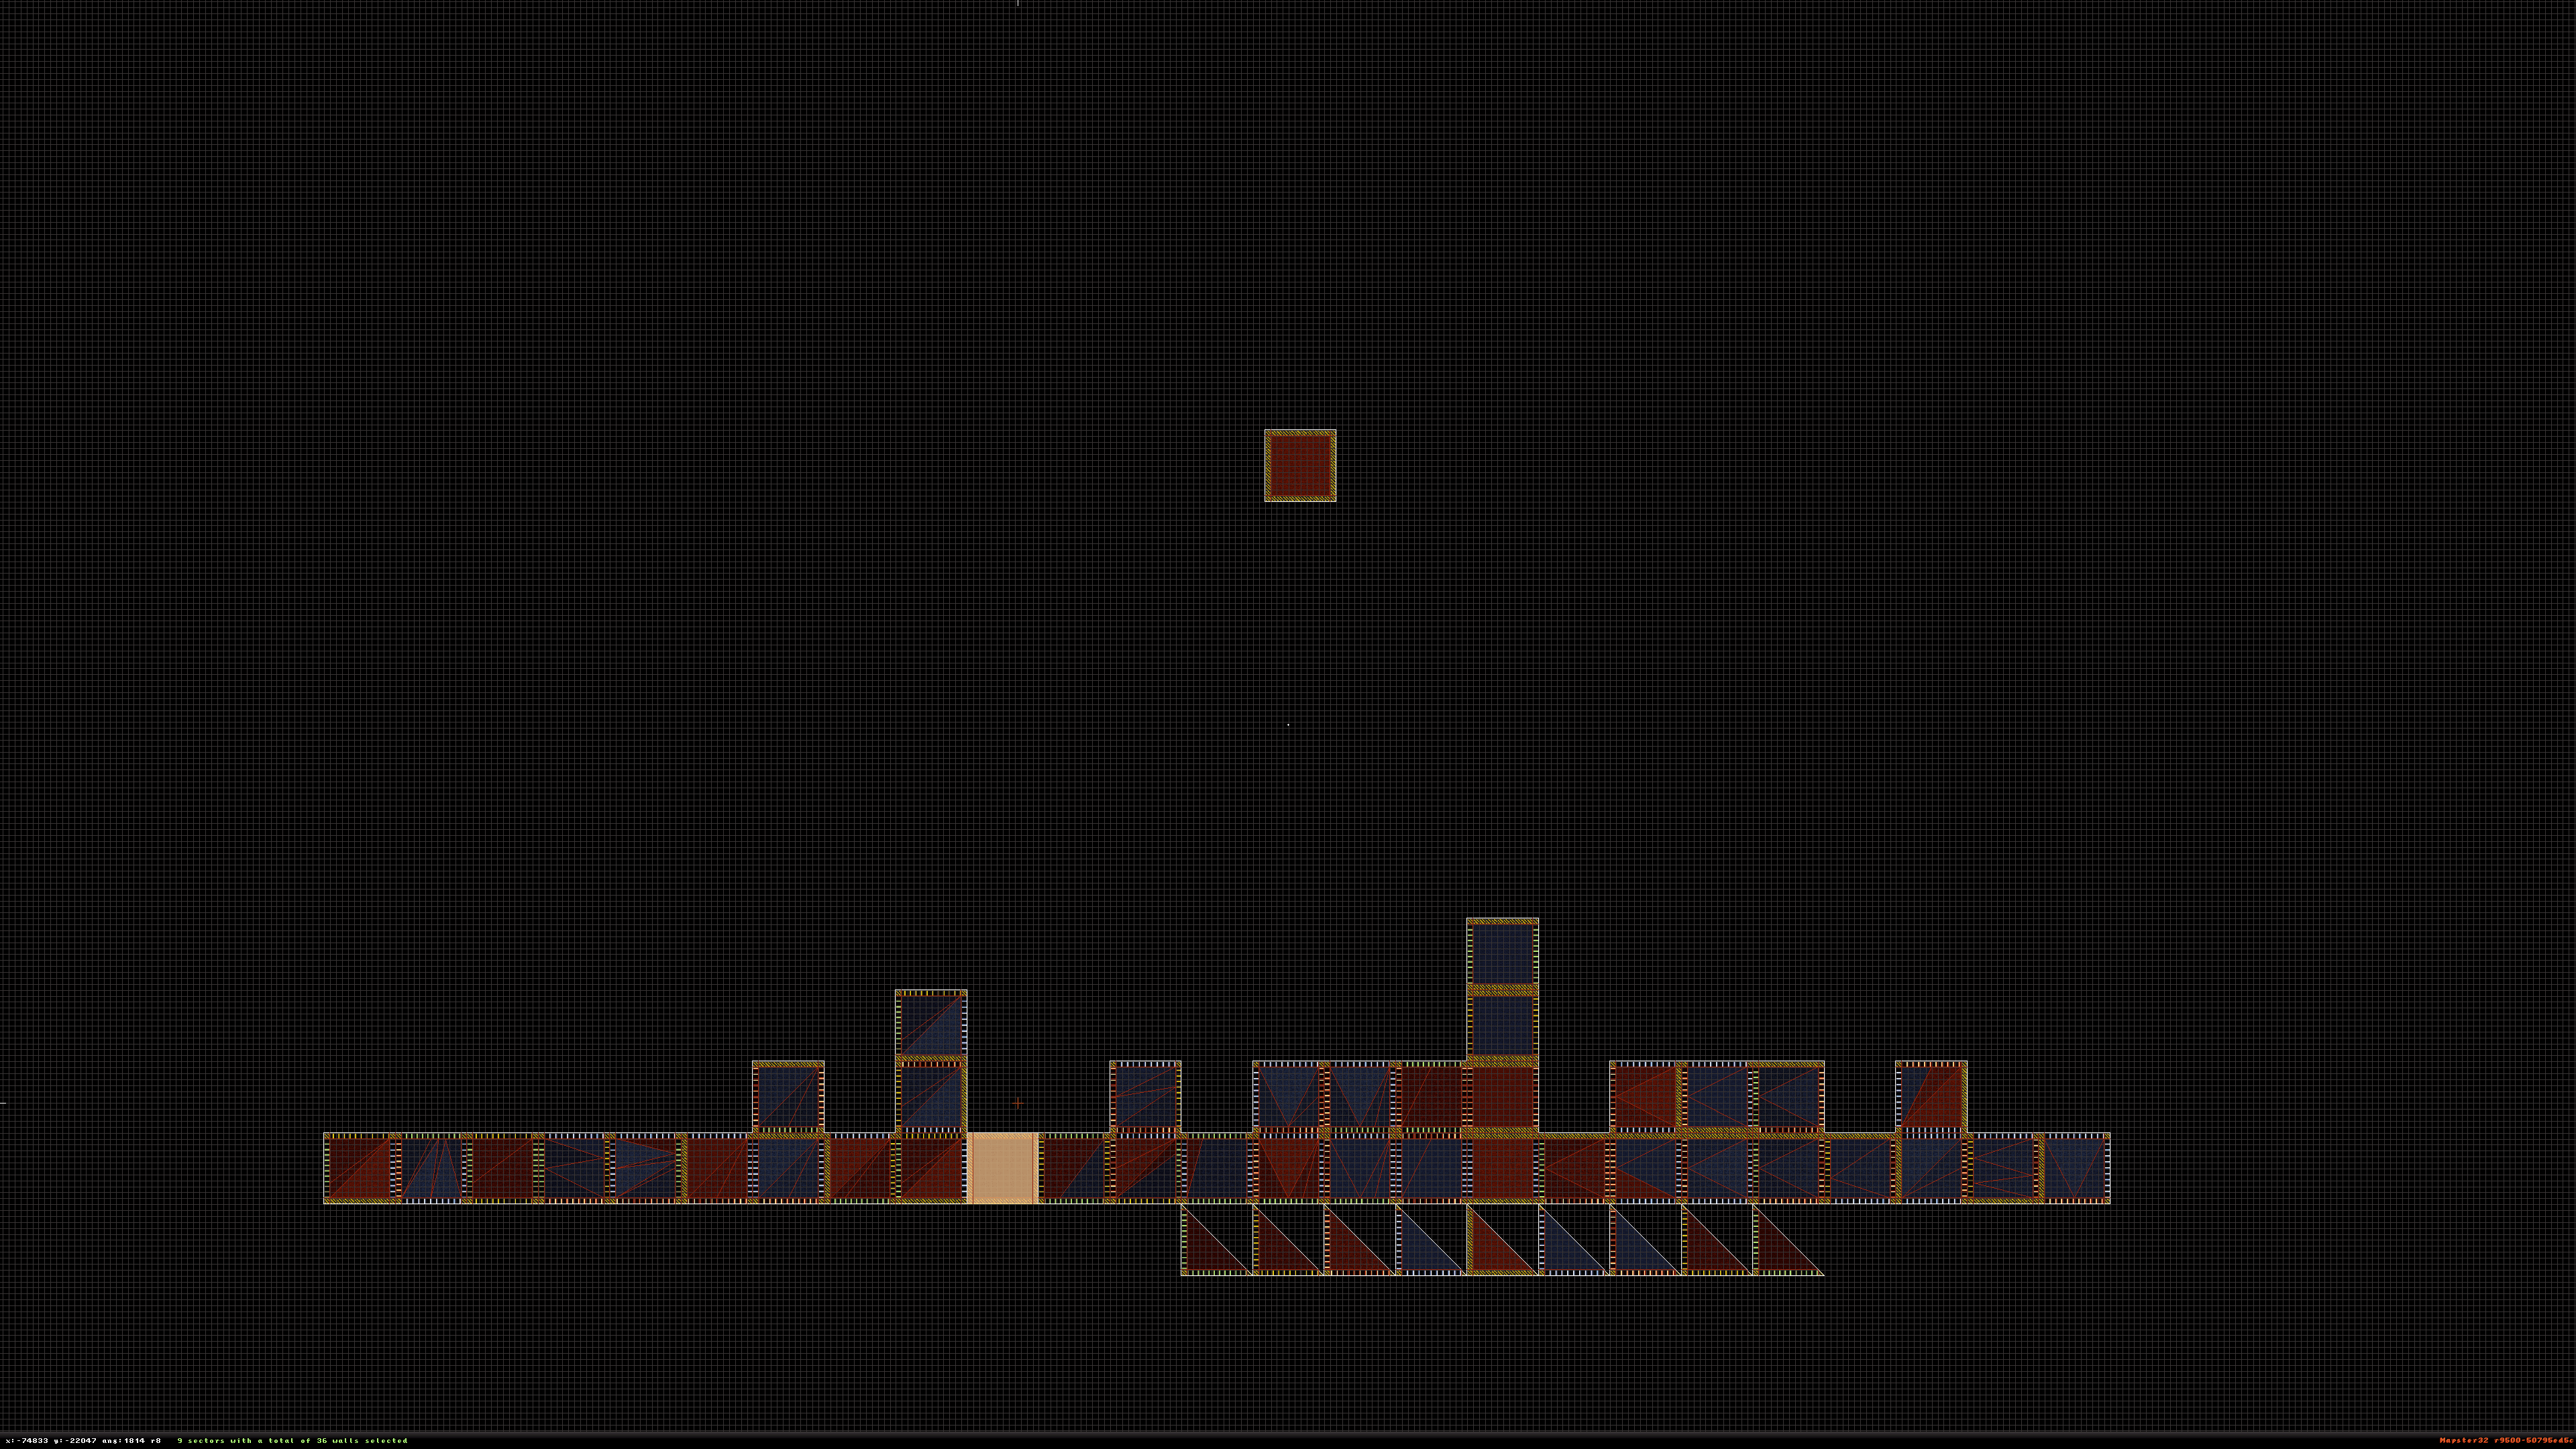
11 : Keep connecting pieces until you've created a landscape. After some time your map will look something like this. Though presentable it's not completely done yet.
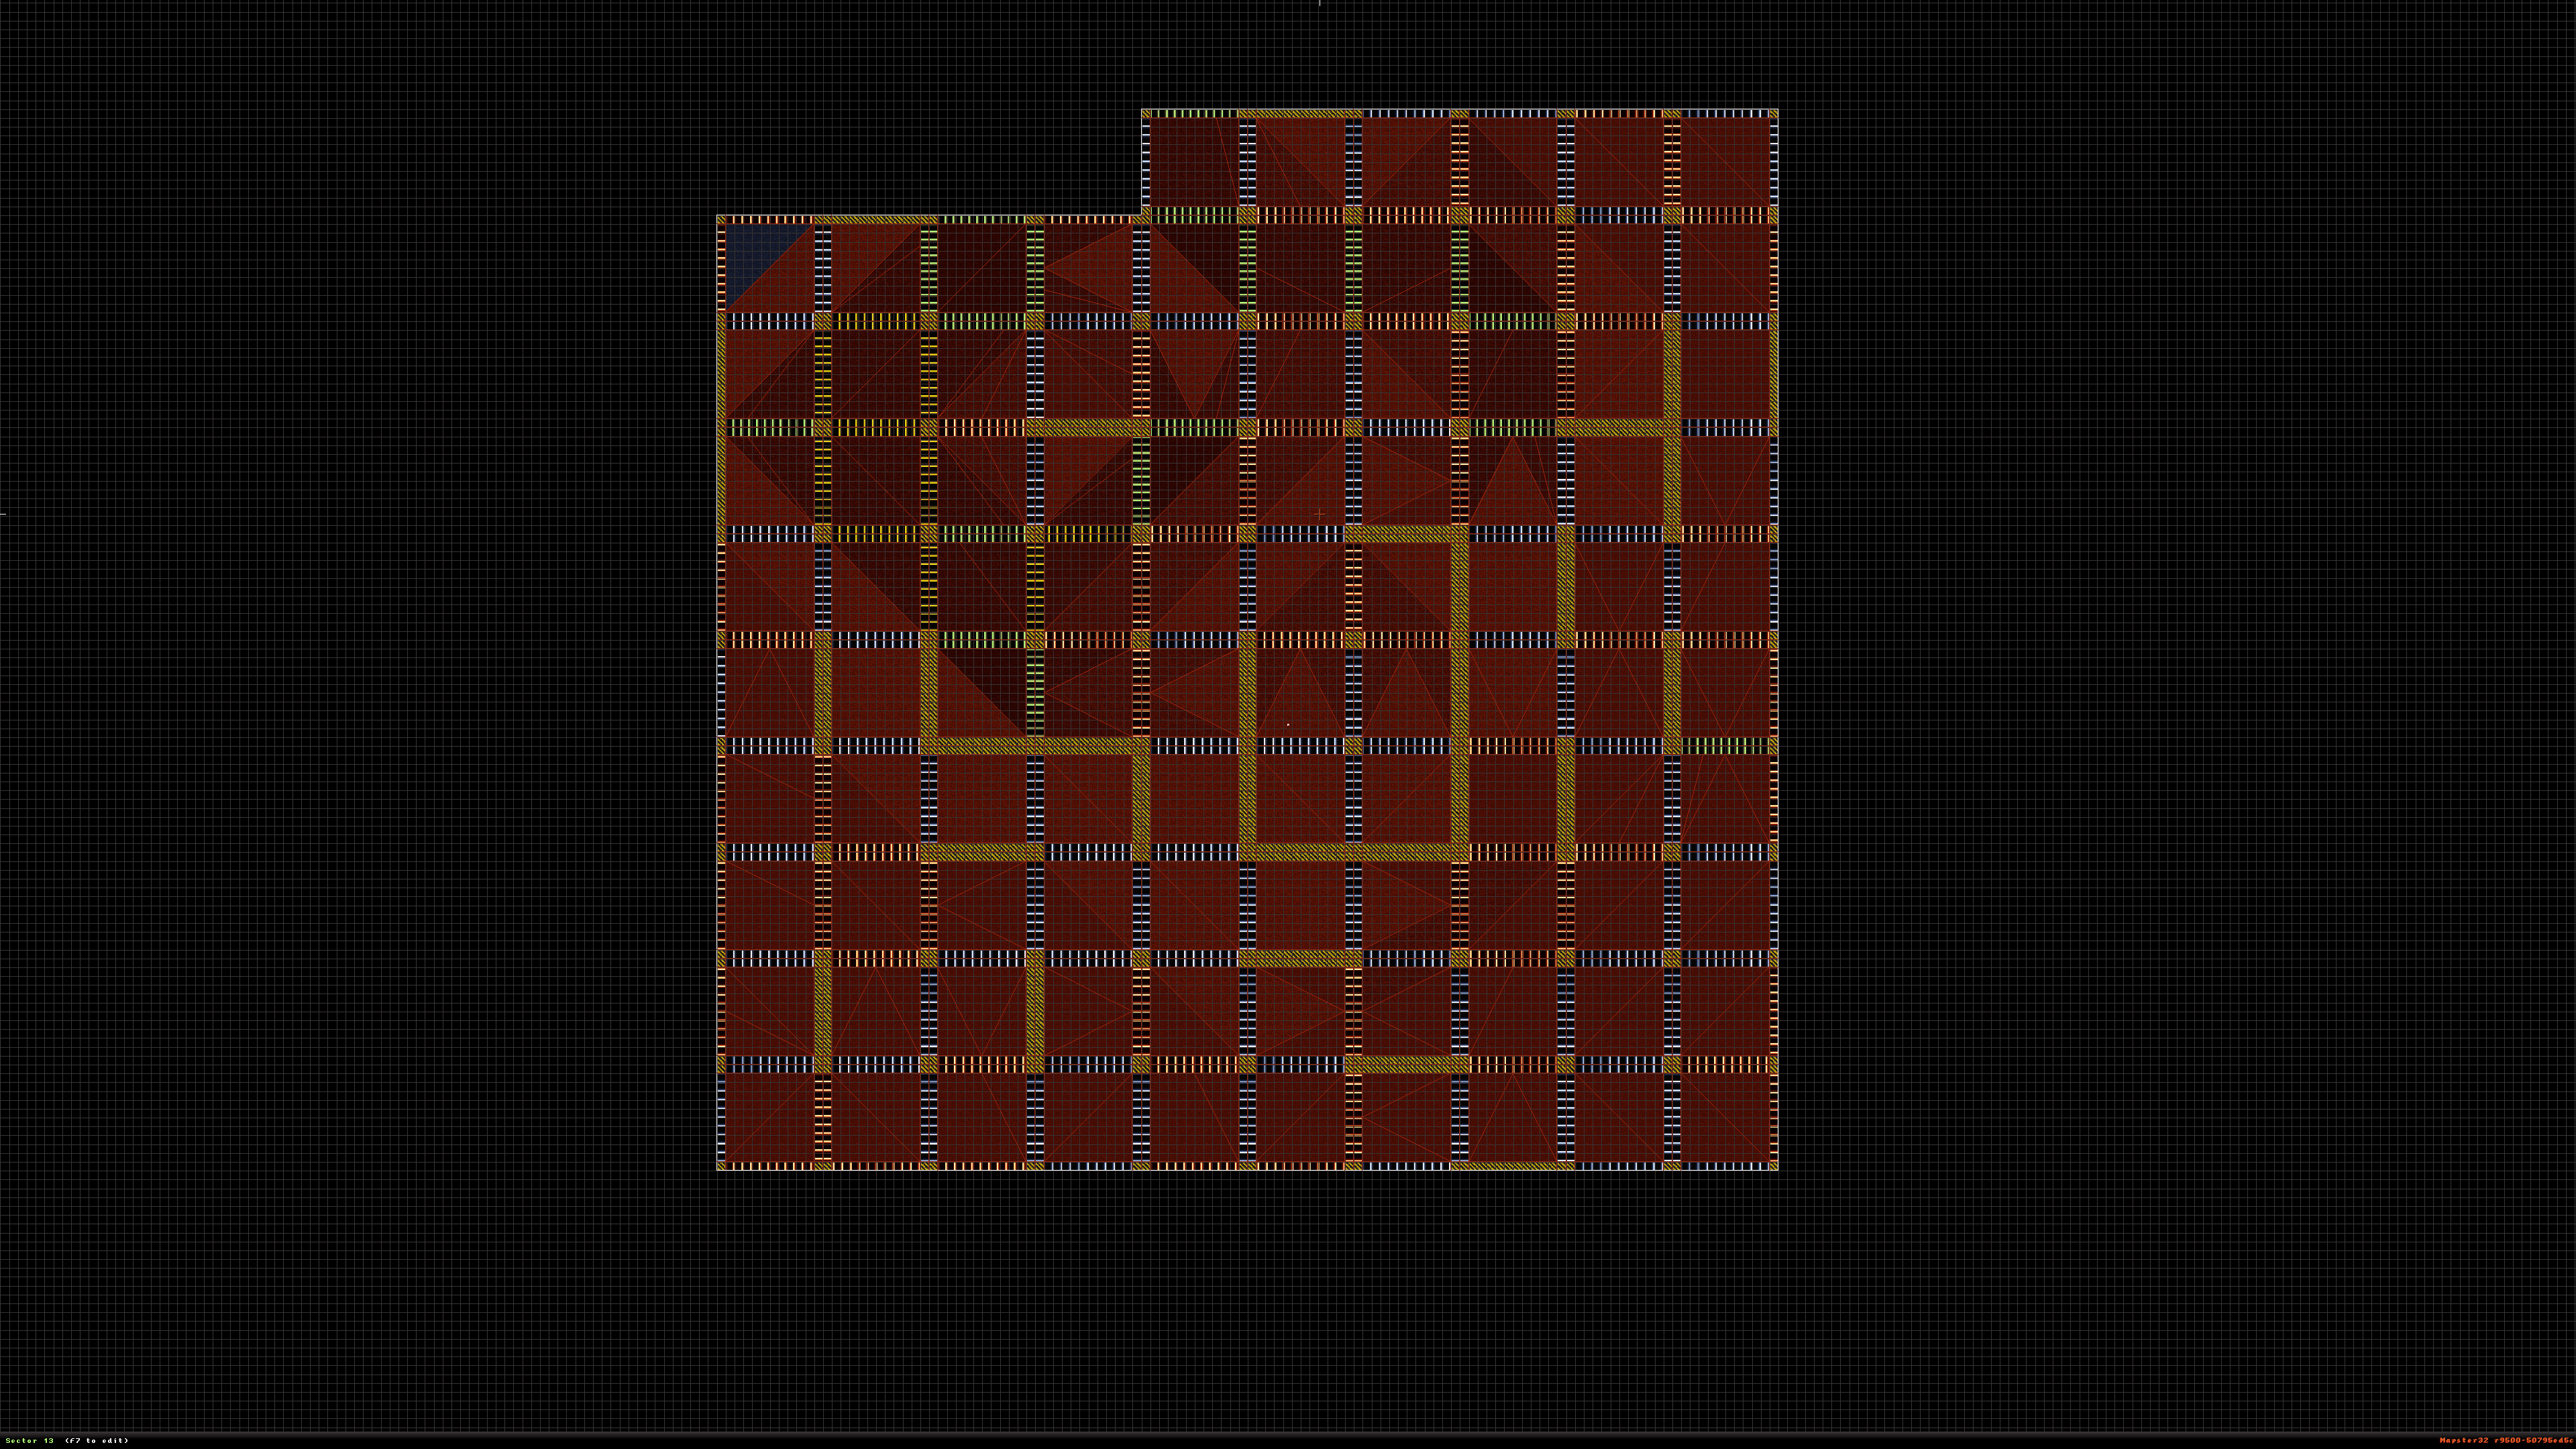
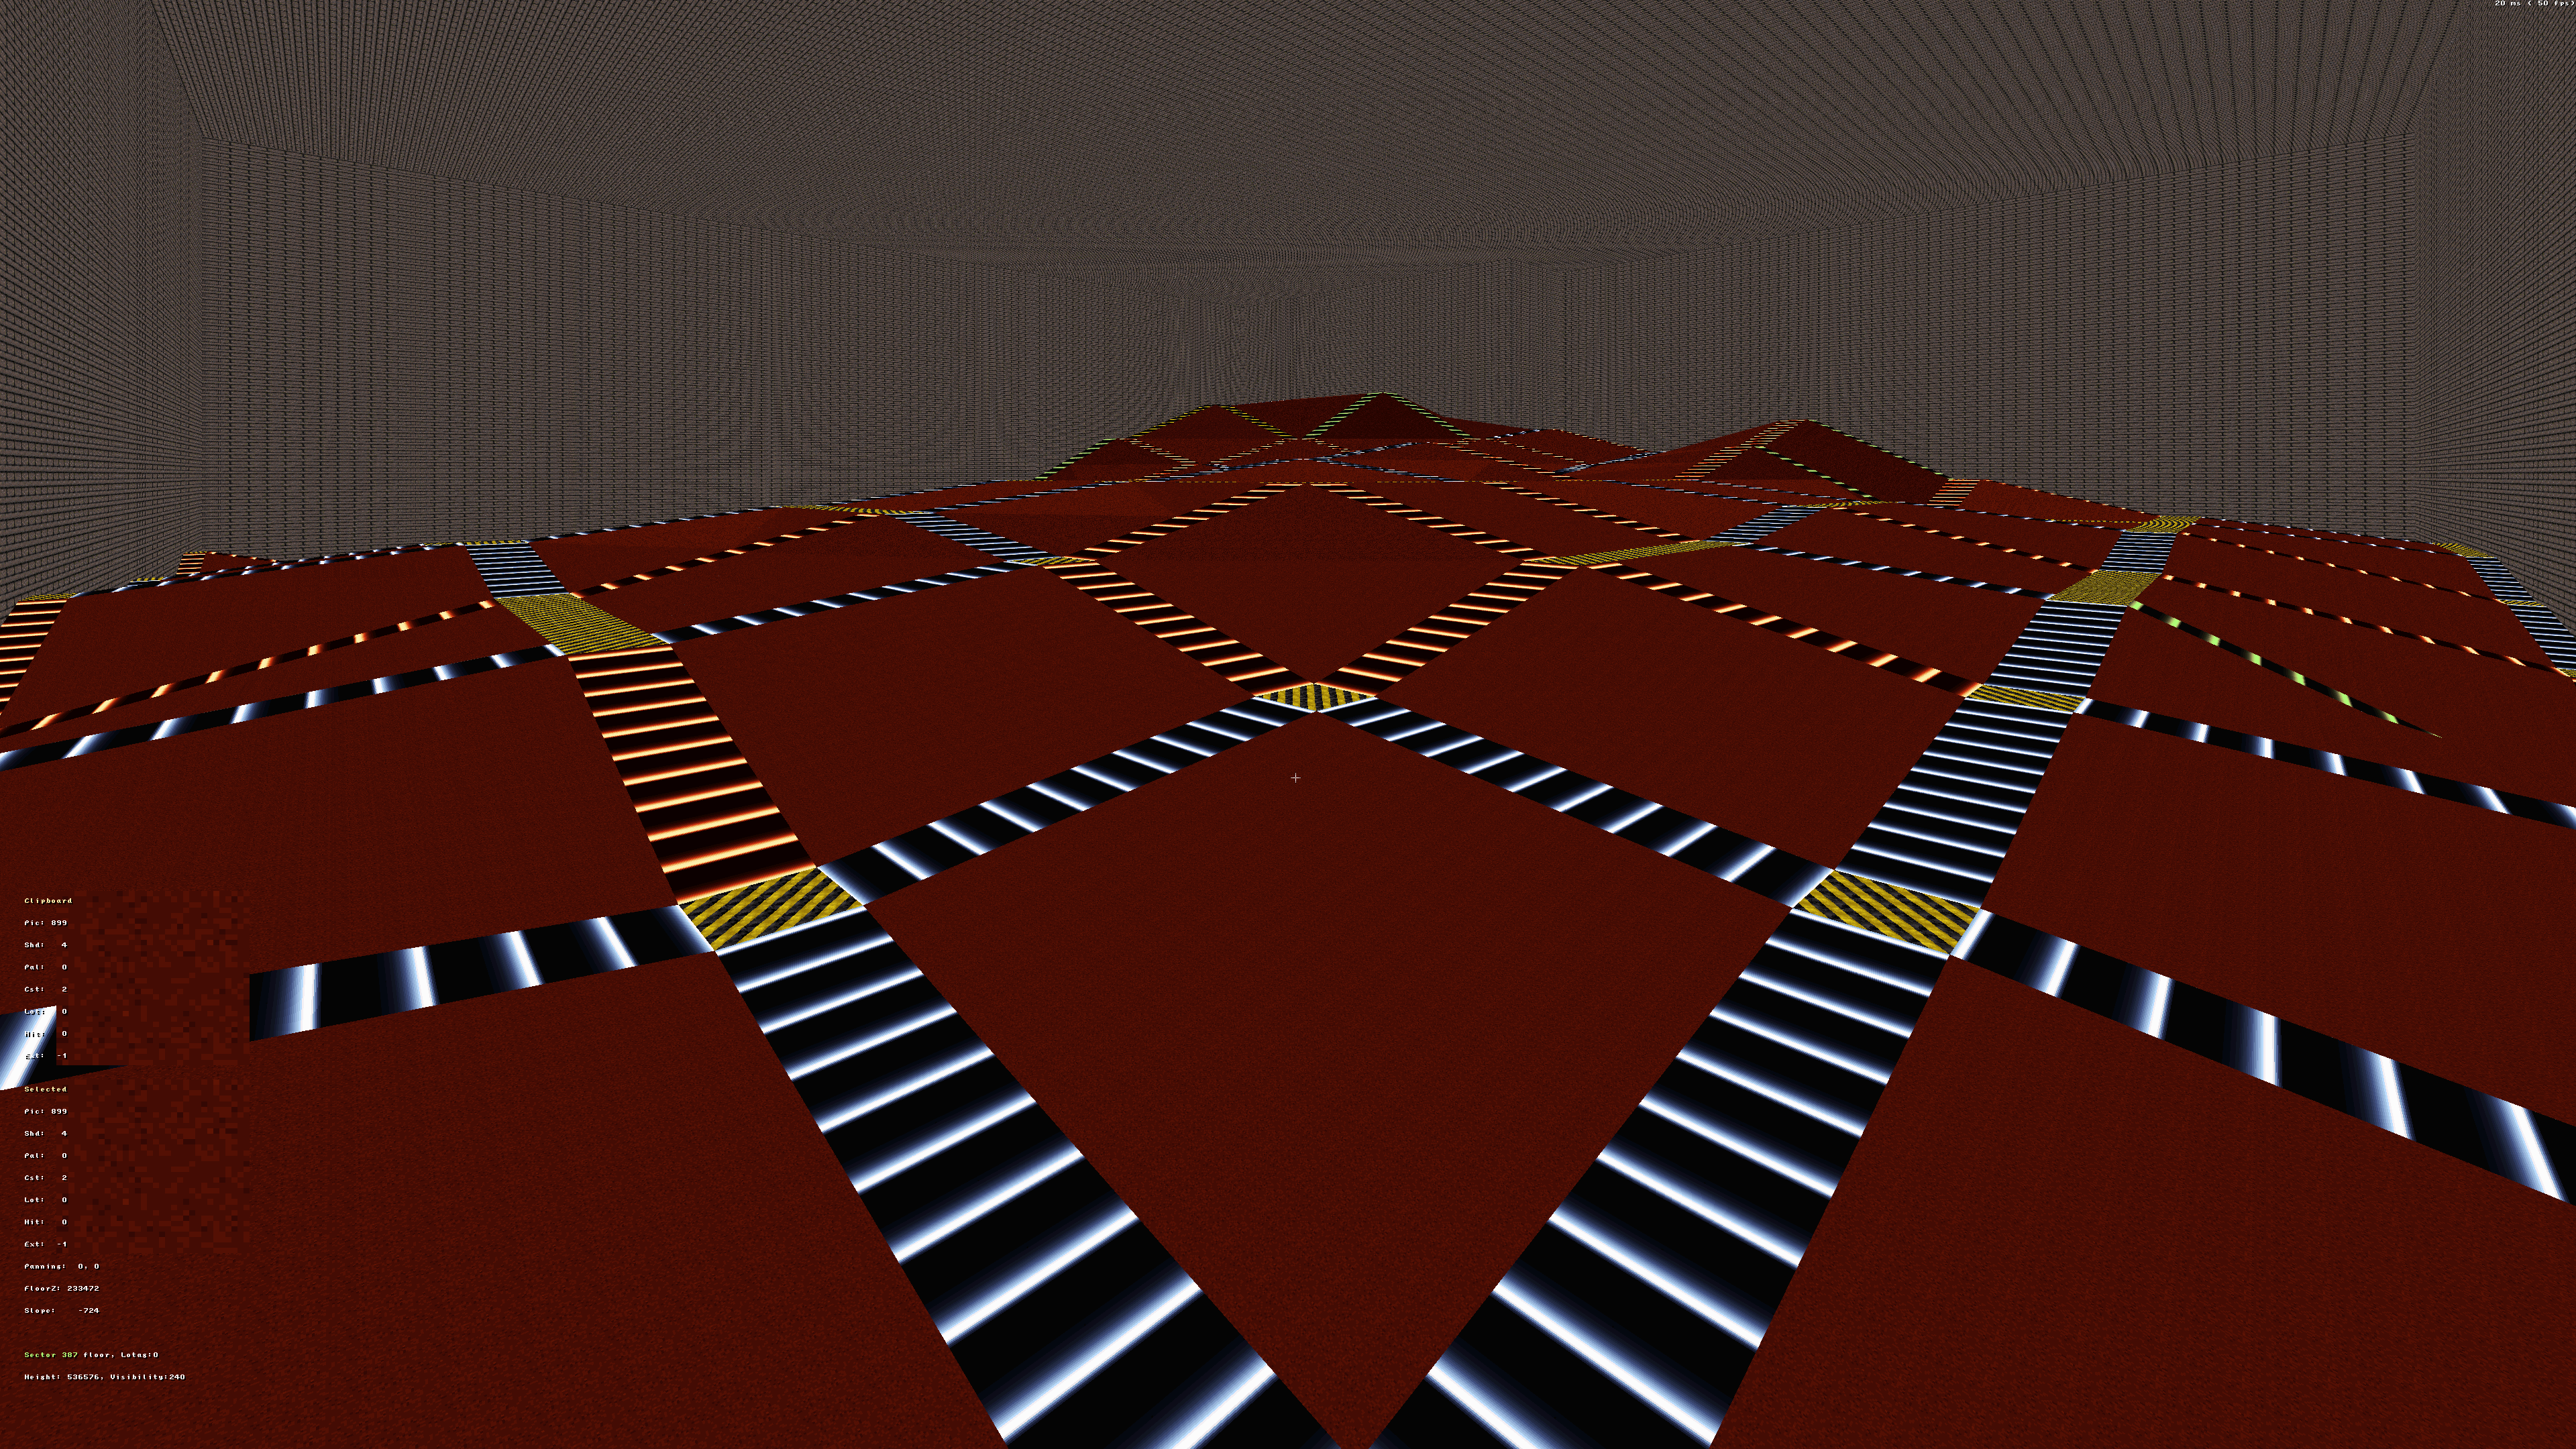
12 : As you can see in this next picture. In 3D mode there are flat strips of color all over the map. You're going to need to remove these colored strips and connect the sectors together.
13 : Using the Right-Alt key, highlight these colored strips and delete them by pressing Right-Ctrl & Delete. It should look something like this after you're done deleting those sectors.

14 : Then you're going to need to bring those sectors together. Ones done you might come across walls that didn't connect right. Fixing this is easy. But just encase I'm also going to explain how.
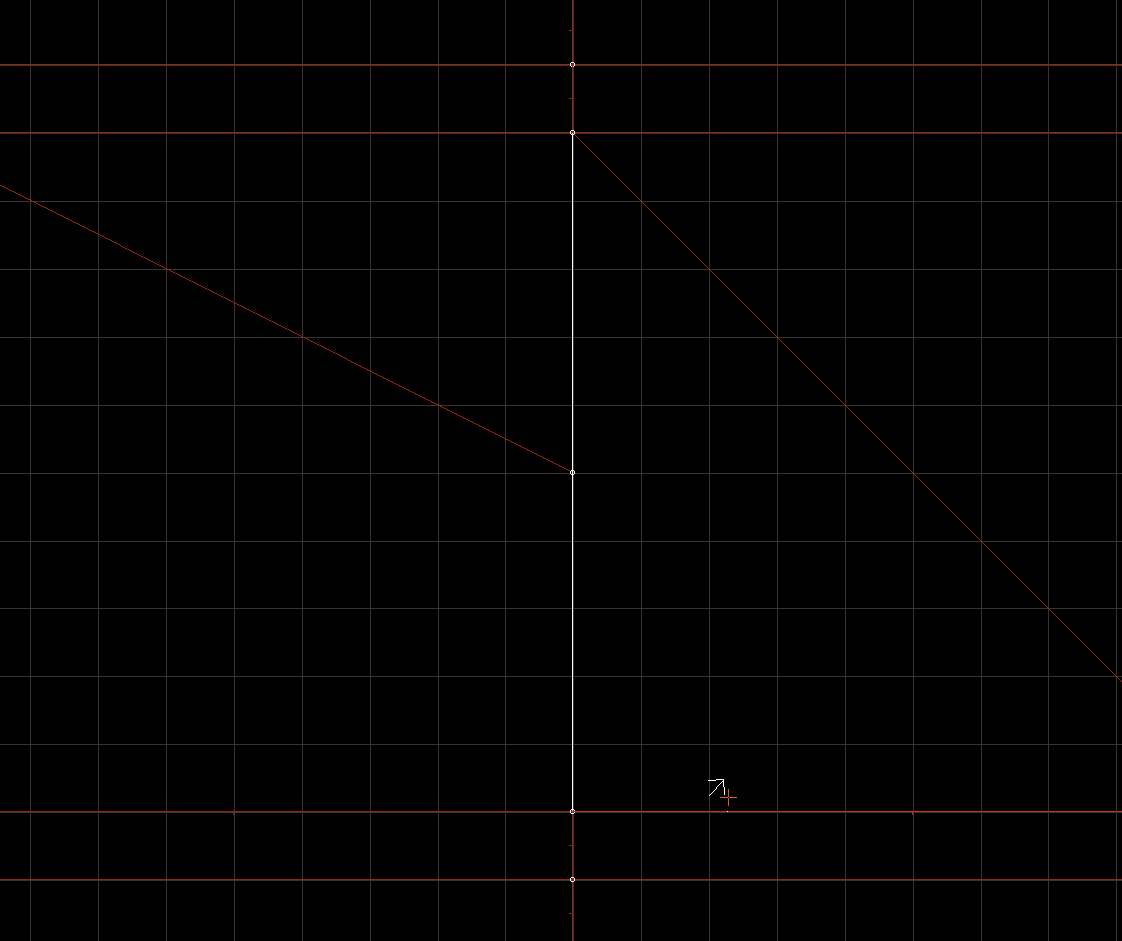
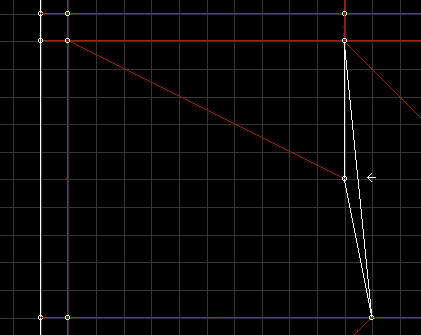
15 : You move the wall to the size from the top of bottom points. Making it possible to see the missing split in the wall. Add a split by pressing Insert near the wall and connect it to the other one.
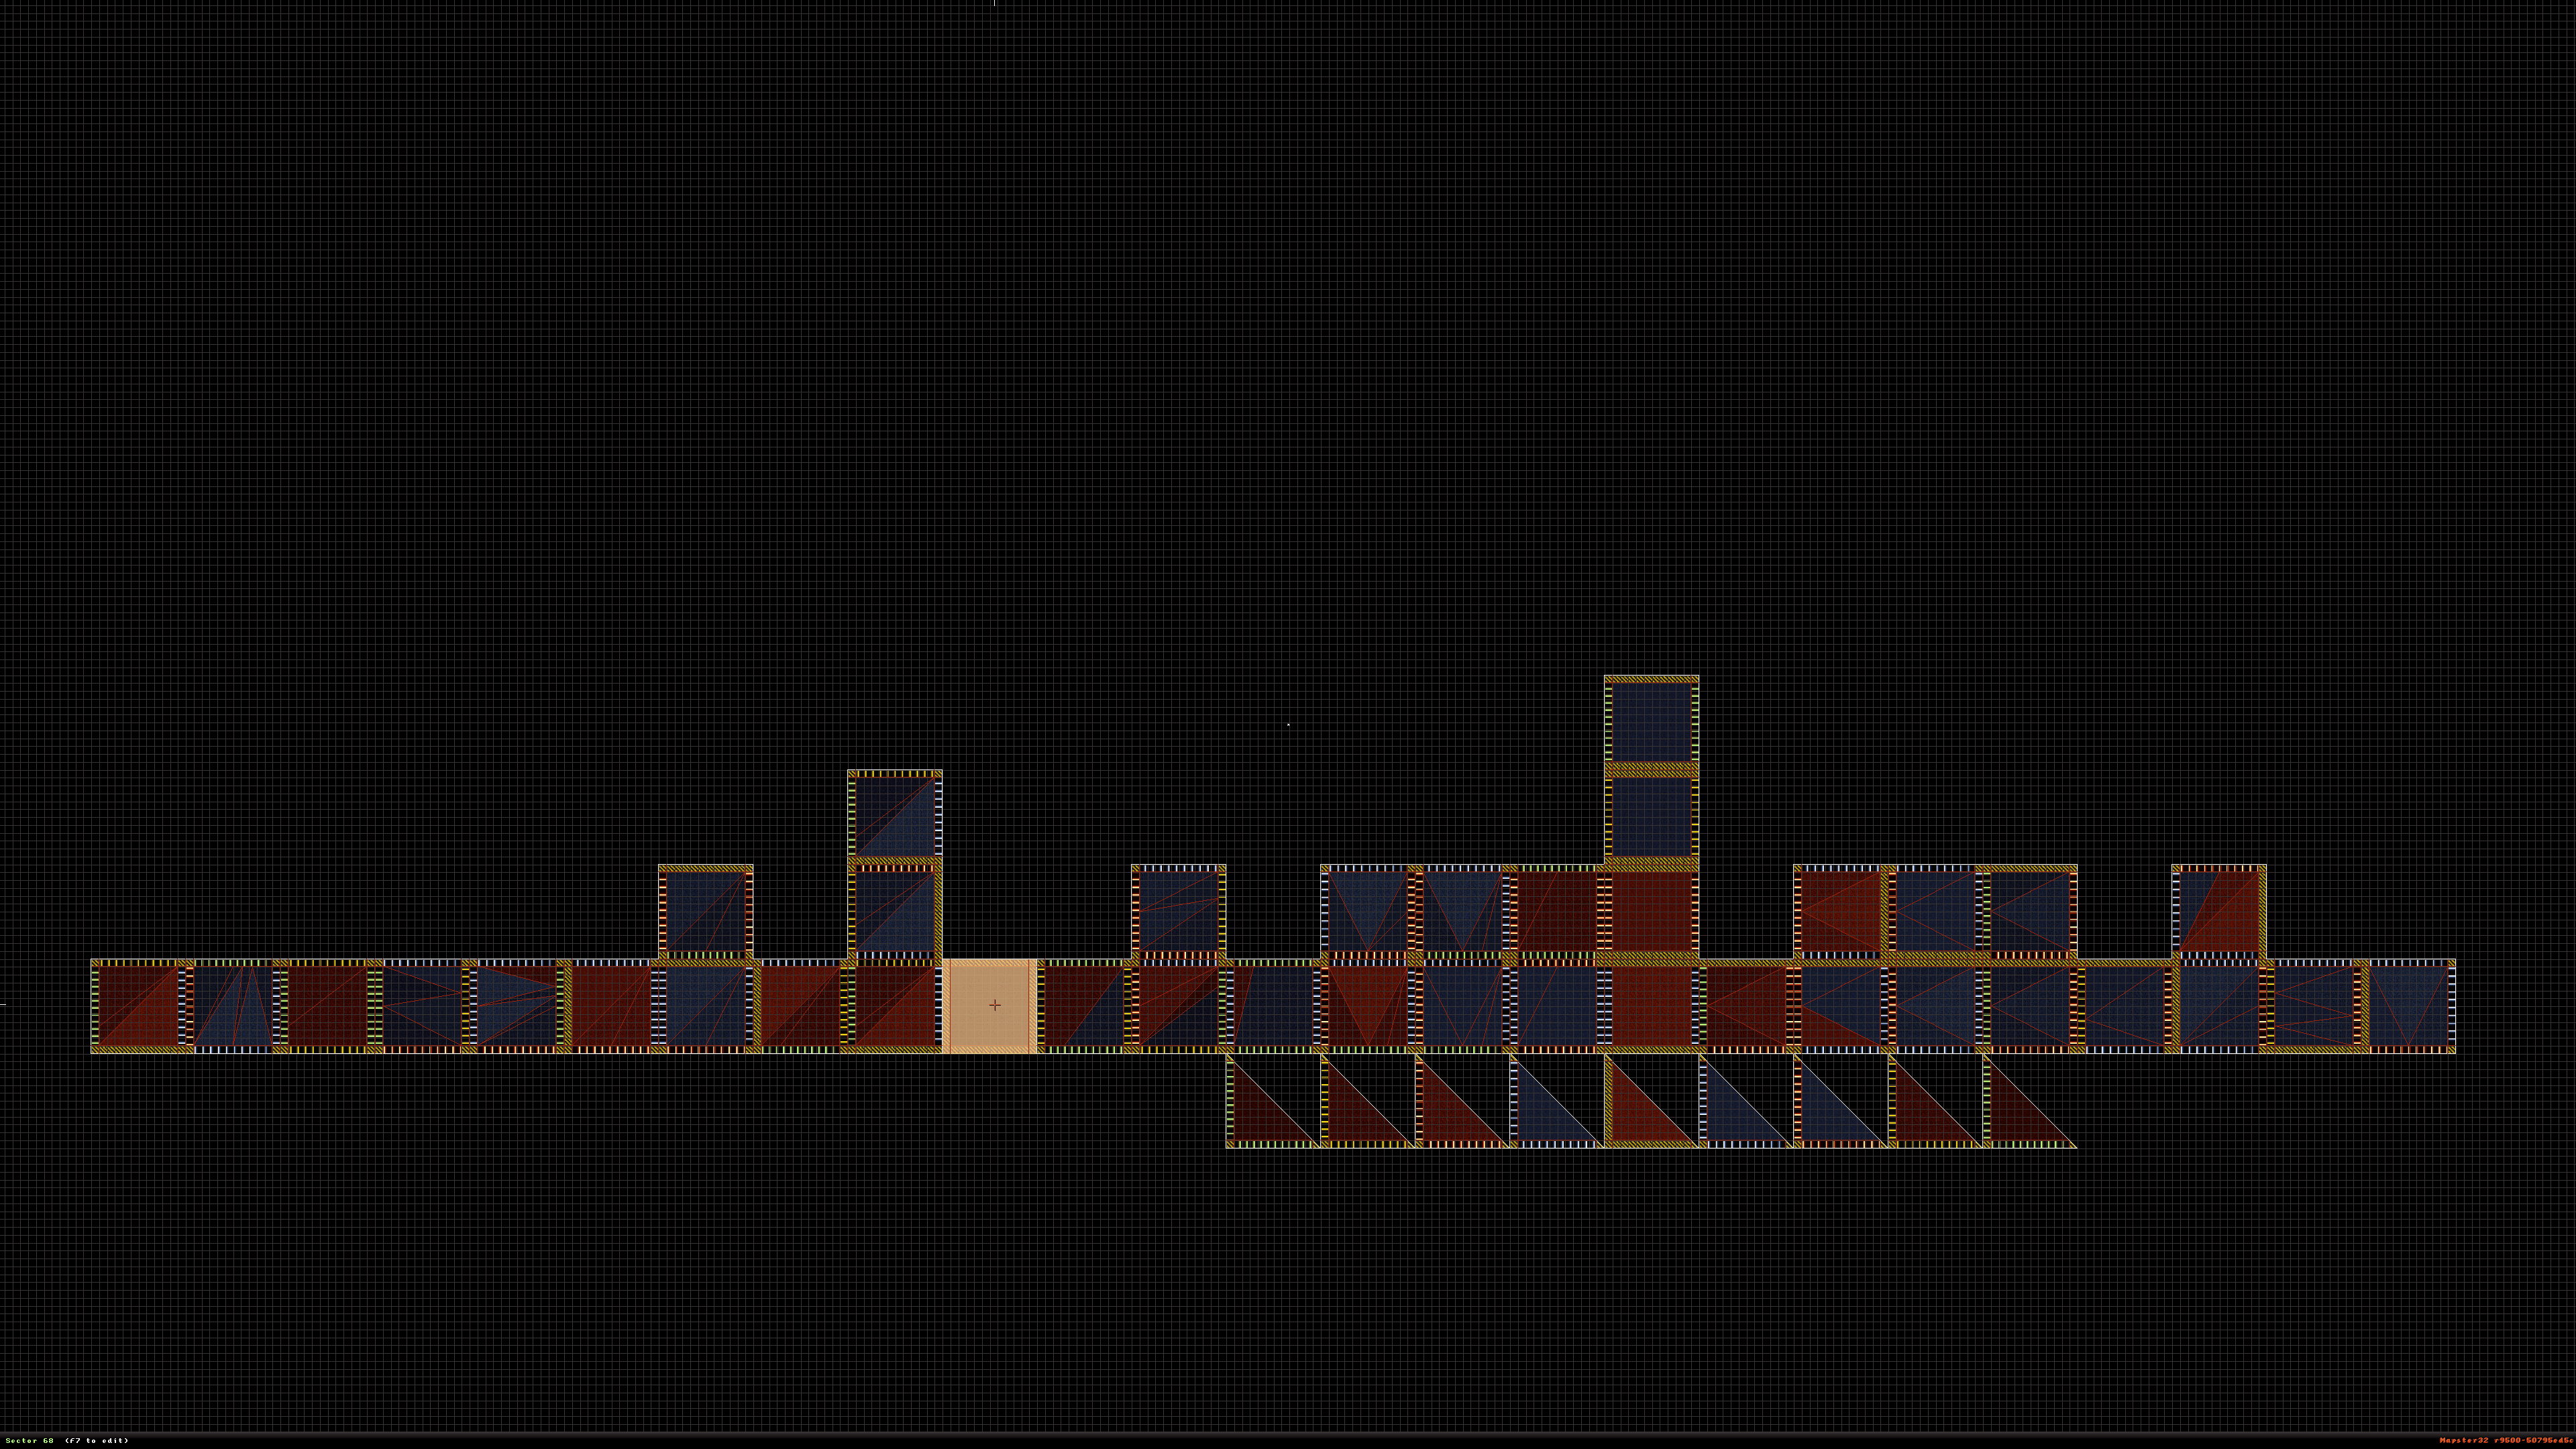
16 : Once you've deleted all the colored strips and fixed all the conflicting walls. The map should look something like this next picture. With no white walls in the middle of the map.

17 : Continue the mapping process until you've gotten to a point you feel comfortable at. Press TAB on a ground texture and Alt+C on the untextured ground. It should look something like this.

18 : You've now completed a basic lesson on landscape terrain mapping. I will be updating this in the future.


